A small apartment usually feels crowded because too many objects are competing for the same easy-to-reach spots. Before adding another cart, basket, or shelf, the better first move is to decide what each zone is supposed to do.
The useful starting point is a compact plan: one purpose, one small setup, one weekly reset. That keeps the article practical for a reader who wants help today rather than a full renovation plan.
This approach also keeps the project honest. A reader can finish one useful change, notice what actually improved, and avoid turning a simple home decision into a stack of unused products.
Why this setup works
A beginner guide works better when it names the tradeoff early. The right first setup is usually smaller than the reader imagined, but it is also easier to finish, easier to clean up, and easier to improve later.
For taller shelves, dressers, or storage furniture, build the plan around basic stability and anchoring guidance from the U.S. Consumer Product Safety Commission’s furniture tip-over guidance, especially when children, guests, or pets may be near the furniture.
Map the daily friction first
Walk the apartment at the time the mess normally appears: after work, during breakfast, or before bed. The useful question is not what looks pretty in a photo. It is what item keeps landing in the wrong place because its real home is too far away, too full, or too annoying to reach.
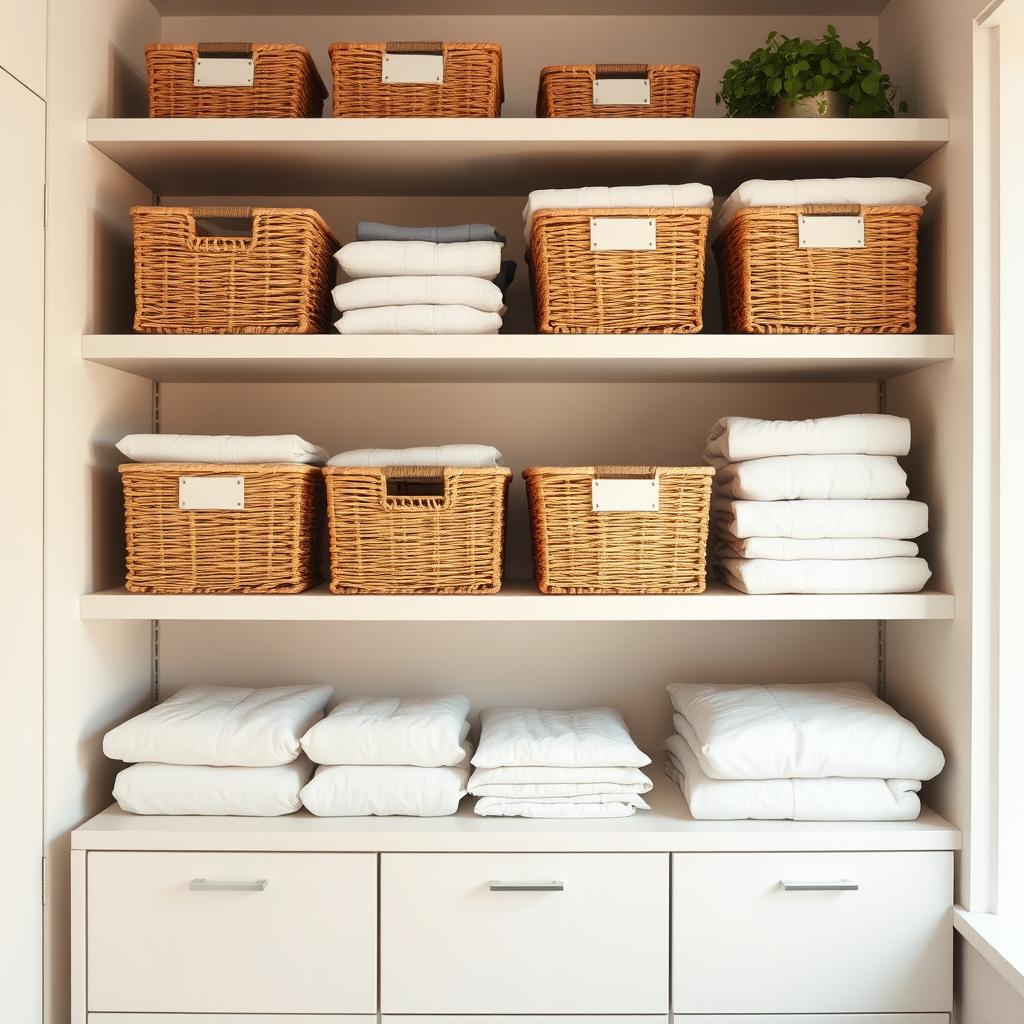
Use vertical space with limits
Vertical storage can help a small room, but it should not become a tower of things you rarely touch. Put light, occasional items higher and keep daily items between waist and eye level. Heavy items belong low, stable, and easy to lift without twisting.
Create one reset shelf
A reset shelf is a temporary landing zone, not a junk shelf. It gives mail, keys, returns, and items from other rooms one visible place to wait until the next reset. The trick is to keep it intentionally small so it cannot hide a week of decisions.
Practical setup checklist
Before you buy anything
Pause long enough to check the boring details: the surface, the size, the weight, the light, the access path, and the cleanup routine. Most beginner frustration comes from skipping one of those details and then trying to force the setup to work anyway.
- Define the job: write down what this area or product is supposed to make easier.
- Measure before buying: check width, depth, height, clearance, weight, cord reach, light, or drainage before choosing gear.
- Read the instructions: product limits and exclusions matter more than a clean inspiration photo.
- Leave margin: a setup packed to the edge is harder to maintain than one with a little empty space.
- Reset weekly: a short recurring reset prevents the system from turning into a storage pile.
After the first week
Use the first week as a field test. If one step keeps getting skipped, simplify that step. If one item never returns to its assigned place, move the home closer to where the item is actually used. A good beginner system improves through small edits instead of one dramatic overhaul.
Pros and Cons
Uses what you already own
The plan starts with zones and access before shopping.
Makes maintenance easier
Daily items move closer to the moments where they are used.
Keeps safety visible
Tall storage and heavy objects are treated as layout decisions, not decoration.
Takes one honest reset
The first pass requires removing items that do not belong in the zone.
May expose duplicate products
Extra bins and containers often become obvious once the layout is mapped.
Frequently Asked Questions
Should I buy organizers first?
No. Measure the space, decide what the zone is for, and only buy a product if it solves that exact job.
What should go on high shelves?
Light, occasional items are better candidates than heavy boxes, glass items, or anything used every day.
How do I keep the system from falling apart?
Schedule a five-minute weekly reset and remove anything that turned the zone into a catch-all.
Final Thoughts
How to Organize a Small Apartment Without Buying More Furniture should feel calm, repeatable, and honest about limits. Start with one useful change, keep the setup easy to reset, and let the next improvement come from what you learn in daily use.
The quiet advantage of this method is that it gives readers a practical stopping point. Once the first setup works for a normal week, they can repeat the same thinking in another area instead of starting from scratch.