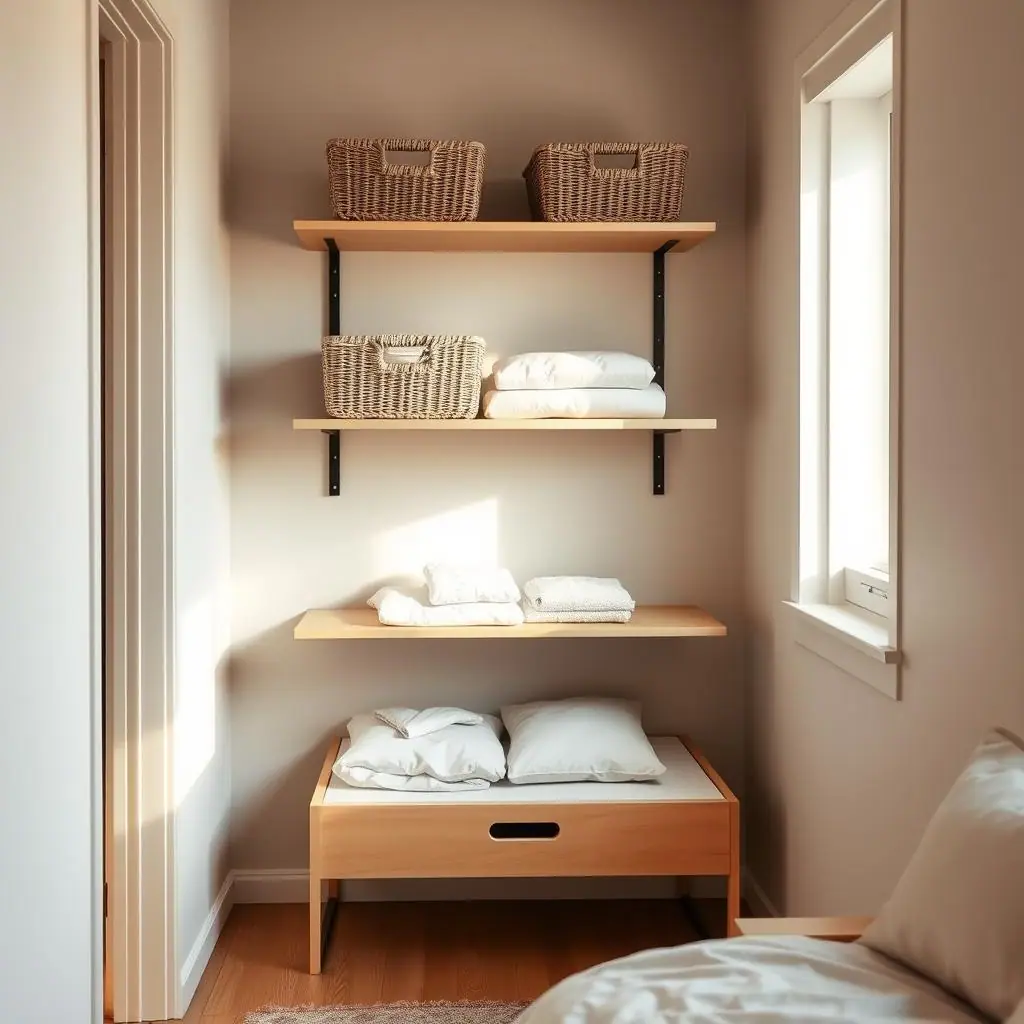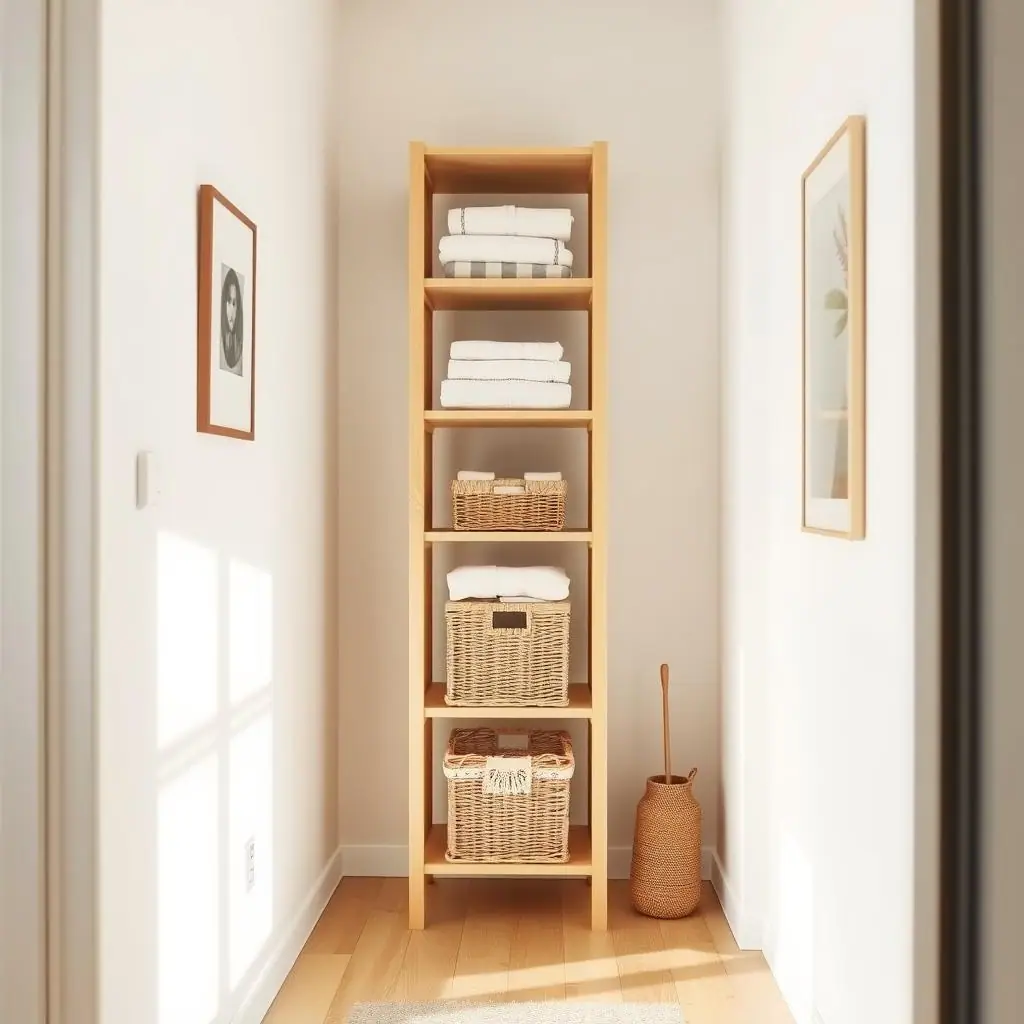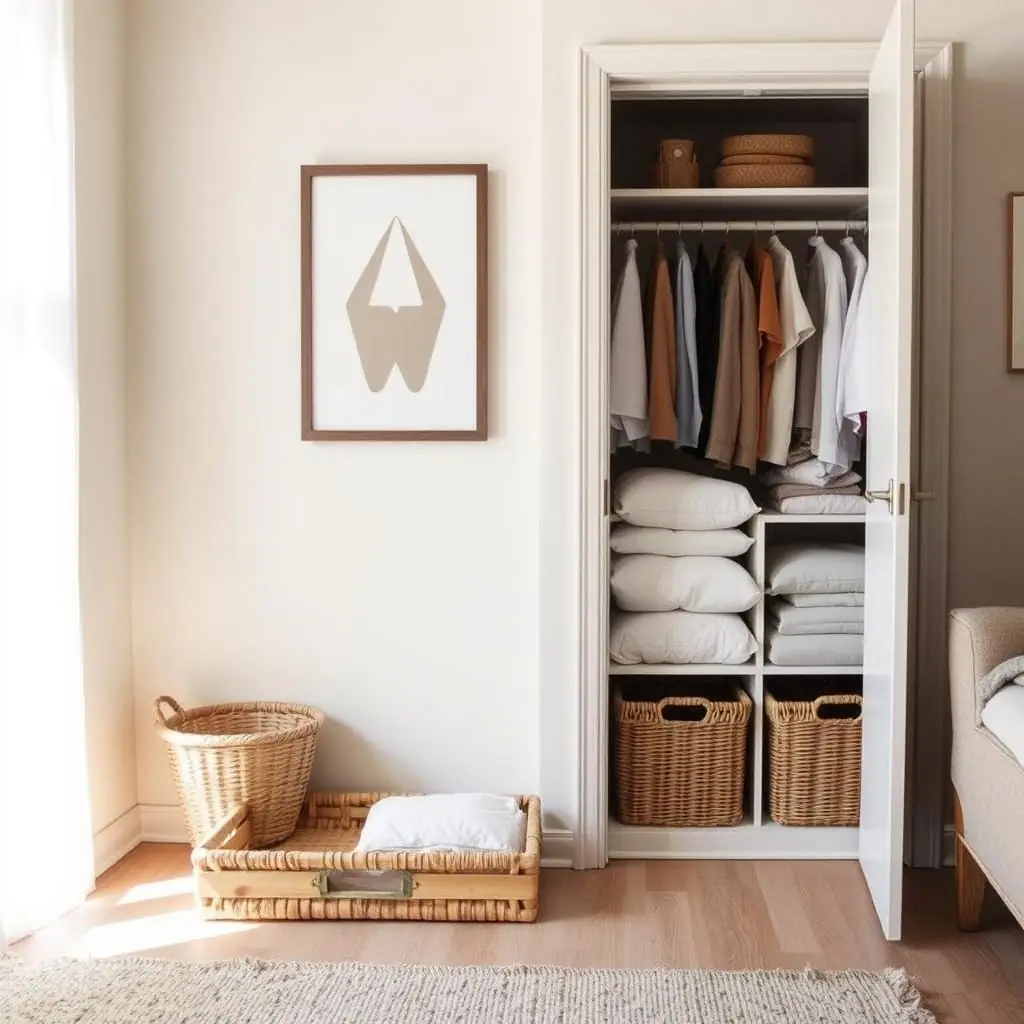
Learning how to create storage zones in a studio apartment is mostly about giving each part of the room one clear job. A studio has to hold sleeping, dressing, cooking, working, relaxing, and storage in the same open footprint. Without zones, everyday items drift to the nearest open surface and the whole apartment starts to feel busy.
A storage zone does not need a wall, a divider, or a new piece of furniture. It can be as simple as one shelf for daily bags, one basket for laundry in progress, or one cabinet shelf for breakfast supplies. The calm comes from making the category obvious enough that items can return home without a long decision.
Start with the zones you actually use every day. Then build small boundaries around them with furniture placement, containers, labels, and reset habits.
Why Storage Zones Matter in a Studio Apartment
In a studio, one messy category can make the whole apartment look unfinished. Shoes near the bed, mail on the kitchen counter, and cleaning supplies under the desk are not separate problems. They are signs that the apartment does not yet have enough clear landing places.
Storage zones help because they turn an open room into smaller decisions. Instead of asking where everything should go, you ask where this kind of item is used, how often it is touched, and how easy it should be to put away.
Safety matters too. Tall bookcases, stacked bins, and freestanding wardrobes can be useful in a studio, but they need stable placement and sensible loading. The U.S. Consumer Product Safety Commission's Anchor It guidance recommends securing TVs and furniture properly, following manufacturer instructions, and keeping heavier items lower when tip-over risk is a concern.
Start With Apartment Storage Basics
The easiest way to create storage zones is to map the apartment by use, not by square footage. Walk through a normal day and notice where each activity begins and ends. Where do you drop keys? Where do you change clothes? Where does paperwork pause before it is handled? Where do groceries wait before they are put away?
Name the daily zones first
Most studio apartments need a few basic zones: entry, wardrobe, kitchen, sleep, work or paperwork, cleaning, laundry, and overflow. Some zones can share furniture. A dresser top might hold a tray for keys if it sits near the door. A nightstand drawer might hold sleep items and a small document folder if there is no desk.
Keep the zones small
A zone should be small enough to reset quickly. If the entry zone spreads across the entire floor, it is not a zone yet. Narrow it to a tray, two hooks, a shoe spot, and one place for outgoing items.
If you want more background before organizing the whole apartment, the ShelfCalm guide to organizing a small apartment without buying more furniture can help you reuse what you already own before adding new pieces.
What to Check First Before You Create Zones
Before moving furniture or buying bins, check the limits of the apartment. A studio usually has hidden constraints: baseboard heaters, outlets, vents, door swings, windows, plumbing access, and lease rules. A beautiful storage idea is not useful if it blocks airflow, makes a drawer impossible to open, or creates a heavy stack in the wrong place.
- Traffic paths: leave enough room to walk from the door to the bed, kitchen, bathroom, and closet without turning sideways.
- Access points: keep electrical panels, vents, radiators, windows, and plumbing areas reachable.
- Weight and stability: store heavy items low and check product instructions before stacking or anchoring.
- Daily reach: keep items used every day between waist and eye level when possible.
- Visual load: use fewer open categories in the main sightline so the room feels calmer.
These checks keep the plan practical. They also prevent the common studio problem where a storage fix solves one issue while creating another.
How to Create Storage Zones in a Studio Apartment Step by Step
Work through the apartment one zone at a time. Do not empty every cabinet at once. A finished small zone is more useful than a half-finished full-room project.
- Choose one friction point: start where clutter gathers fastest, such as the entry, closet edge, kitchen counter, or laundry pile.
- List the items that belong there: write a short category list before choosing a container.
- Remove unrelated items: move anything that belongs to another activity, even if it has always lived there.
- Set an access rule: daily items get the easiest reach; occasional items move higher, lower, or farther away.
- Add one boundary: use a tray, basket, shelf section, drawer divider, or label to mark where the category ends.
- Test for one week: if items still land outside the zone, adjust the location before buying more storage.
The most useful zones are boring in the best way. They do not require a perfect routine. They make the obvious action easy enough to repeat.
Studio Zones That Usually Work
Entry and daily carry zone
Use a shallow tray for keys and wallet, one defined shoe spot, and a small hook or freestanding rack for the current bag or coat. Keep this zone tight. If it holds every pair of shoes and every tote, it will become a storage pile instead of an entry system.
Wardrobe and laundry zone
Place laundry storage close to where clothes actually come off, not where you wish they would go. If clean clothes wait before being folded, give that stage a temporary basket with a reset deadline. For closets, the guide to small apartment storage ideas that work in real rentals offers renter-aware checks for bins, shelves, and vertical space.
Kitchen and pantry zone
Group food by use instead of package type. Breakfast, quick dinners, snacks, and backup staples are easier to maintain than one crowded shelf of unrelated boxes. If you do not have a pantry, one cabinet shelf or rolling cart can act as the pantry zone as long as the categories stay clear.
Work and paperwork zone
Even if you do not have a desk, paperwork needs a home. Use one file box, one tray, or one drawer section for papers that need action. Avoid mixing mail, receipts, tools, and sentimental papers in the same container.
Common Apartment Storage Basics Mistakes to Avoid
The first mistake is making too many zones. A studio should feel easier after zoning, not more complicated. If every basket has a narrow label that only makes sense on a perfect day, the system will not last.
The second mistake is using room dividers as storage without thinking through access. A shelf can separate sleep and living areas, but both sides need a purpose. If one side becomes a hidden pile, the divider is only moving clutter out of sight.
The third mistake is loading upper shelves with heavy or awkward items. Use upper storage for light, occasional categories. Keep tools, appliances, bulk goods, and dense bins lower and easier to lift.
Pros and Cons
Makes one room easier to read
Zones give each activity a clear place without needing extra walls or large furniture.
Reduces daily decision fatigue
Items return to the same small category instead of floating between surfaces.
Works before a shopping trip
The method starts with use patterns, measurements, and boundaries, not products.
Needs a short test period
The first location may not be the best one, especially in a studio with shared zones.
Can expose safety limits
Tall furniture, stacked bins, and wall storage may require lease checks, anchoring, or a different setup.
A Simple Zone Checklist
- Can I name the zone in three words? If not, the category is probably too broad.
- Can I return items in one motion? If not, remove a lid, move the container, or shrink the category.
- Are heavy items stored low? If not, adjust the layout before the habit becomes normal.
- Is there empty space for normal use? Leave margin for laundry day, grocery day, and busy mornings.
- Can I reset it in five minutes? If not, split the zone or reduce what it holds.
When to Get Extra Help
Get extra help when a zone depends on anchoring furniture, mounting shelves, using adhesive products on uncertain surfaces, or moving heavy pieces. Check the lease, product instructions, and manufacturer guidance before installing anything that carries weight.
If you share the studio, ask the other person to test the zone too. A storage system that only one person understands will not stay calm for long.
Frequently Asked Questions
What should I check first when creating storage zones?
Start with one messy spot and identify what activity is happening there. Then check traffic paths, door swings, surfaces, and whether heavy items can stay low.
How often should I review studio apartment storage zones?
Review active zones weekly for a few minutes. If the same items keep landing outside the zone, the location or category needs a small adjustment.
What should I do if I am not sure a storage product is safe?
Pause before loading it. Check the product instructions, surface requirements, and lease rules, especially for tall furniture, wall-mounted storage, adhesive shelves, and tension products.
Can I undo storage zones later?
Yes. Most zones are easy to revise if you use trays, baskets, dividers, and furniture placement before permanent hardware. Keep the setup modular until you know it works.
Final Thoughts
How to create storage zones in a studio apartment comes down to one calm rule: give each daily activity a small, obvious home. Start with the friction point you see most often, define the category, and test the boundary for a week.
Once one zone works, repeat the same method somewhere else. A studio becomes easier to live in when every shelf, basket, and drawer has a job that matches real life.