The best no-drill storage ideas for renters are the ones that solve a real daily friction point without turning the apartment into a display of temporary gadgets. A hook, cart, tension rod, over-door rack, or freestanding shelf can help, but only when it matches the surface, the weight, the lease, and the way you actually move through the room.
Start with the problem before the product. Are shoes landing by the door? Are cleaning bottles crowding the sink cabinet? Are towels drifting onto a chair because there is no linen closet? No-drill storage works best when each piece gets one calm job and stays easy to remove, clean, and reset.
Why No-Drill Storage Ideas for Renters Matter
Renters often need storage that can move out with them. Drilling may be restricted by the lease, the wall type may be unknown, or the apartment may have tile, old plaster, hollow-core doors, or painted surfaces that make permanent hardware risky. That is why no-drill storage can be useful: it gives you a way to organize without starting with a repair project.
The goal is not to avoid every mark at all costs. The goal is to choose storage that is honest about limits. Adhesive products can fail on dusty, damp, textured, or recently painted surfaces. Over-door organizers can rub paint, stop a door from closing, or overload a hinge. Tall freestanding units can still tip if they are unstable or loaded badly.
For taller furniture, bookcases, and storage units, safety matters even in a rental. The U.S. Consumer Product Safety Commission advises anchoring TVs and furniture where possible and keeping heavier items lower when anchoring is not possible: CPSC furniture tip-over safety guidance.
Start With the Storage Problem, Not the Organizer
Before buying anything, name the exact item group that needs a better home. A small apartment usually has enough space for the essentials, but the space is often in the wrong place. The best no-drill storage ideas for renters bring the home closer to the habit.
Choose one zone at a time
Pick one zone: entryway, closet, pantry shelf, bathroom cabinet, under-sink area, laundry nook, or bedside corner. Do not try to fix the whole apartment with one shopping trip. When the zone is small, it is easier to measure, test, and notice whether the new storage actually helps.
Sort by weight and frequency
Put daily, lightweight items in the easiest reach zone. Put heavy, breakable, or spill-prone items low. Put backup supplies farther away. This simple order keeps no-drill storage from becoming overloaded, especially when you are relying on removable hooks, pressure, door hardware, or a freestanding frame.
Best No-Drill Storage Ideas for Renters by Room
These ideas are calm starting points, not a list of things every renter needs. Pick the one that matches your most annoying storage problem and test it for a week before adding more.
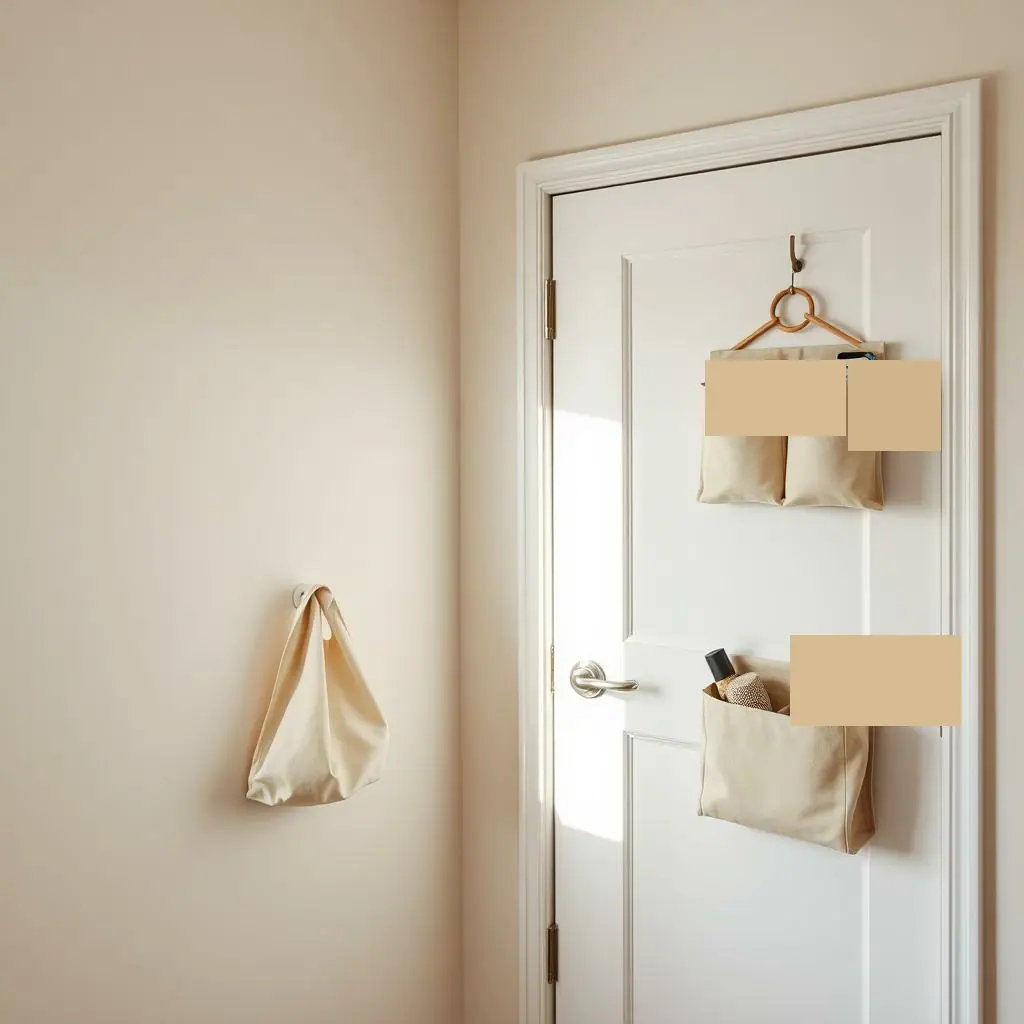
- Entryway: use an over-door hook rail for light jackets, a narrow shoe rack, or a slim basket for daily bags. Keep heavy backpacks on the floor or a bench instead of hanging them from a door.
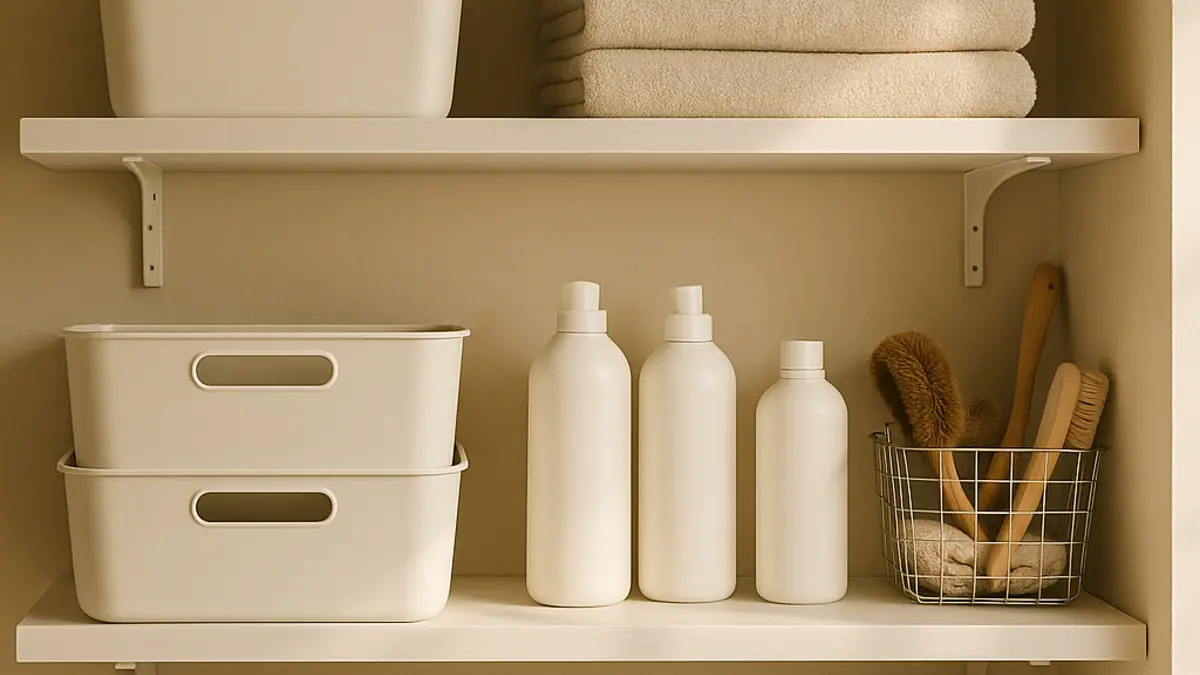
- Closet: try shelf dividers, hanging fabric shelves, clip-on basket labels, or a freestanding drawer stack. These help when the closet already has a rod or shelf but no clear zones.
- Kitchen: use shelf risers, turntables, cabinet-door baskets made for the door thickness, or a rolling cart if cabinets are limited. Keep glass jars and heavy cans low.
- Bathroom: choose a freestanding slim tower, tension caddy, suction cup only for very light items, or an over-toilet shelf if it is stable and does not block access.
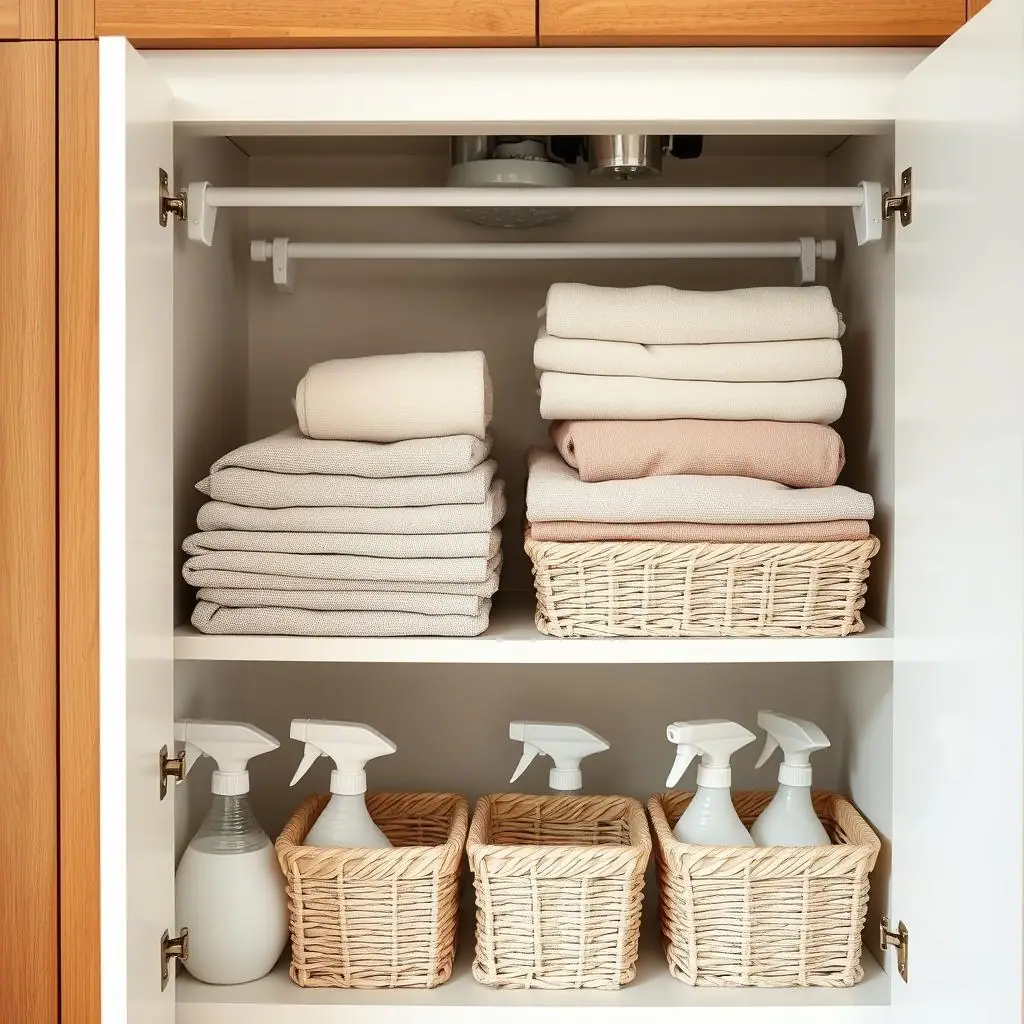
- Under sink: use removable bins, a low sliding basket, or a tension rod for light spray bottles only if the rod fits securely and does not press against plumbing.
- Laundry area: use a rolling cart, shallow tray, or over-door pocket organizer for light tools. Store heavy detergent low instead of on a high removable shelf.
If product instructions are unclear, go to the maker's support page instead of guessing. IKEA's product support and wall anchoring information, for example, separates furniture support from general inspiration and reminds readers to follow the correct instructions for the item they own: IKEA product support.
What to Check Before Using No-Drill Storage
A renter-friendly organizer should pass four checks before it earns a place in the apartment. These checks take a few minutes and prevent most disappointing purchases.
Check the surface
Adhesive hooks and strips usually need a clean, dry, smooth surface. Textured walls, brick, rough wood, damp bathrooms, dusty paint, and recently painted areas can make adhesion unreliable. If the surface is fragile or unknown, choose freestanding storage or contained bins instead.
Check the load
Do not load removable products to their maximum rating on day one. Ratings depend on correct installation, surface condition, item shape, and time. Start lighter than the package suggests, then watch for sagging, peeling, shifting, rubbing, or door strain.
Check movement
Doors swing, people brush past corners, cabinets open, washing machines vibrate, and bathroom moisture changes surfaces. A storage idea that looks fine in a still photo may be annoying in motion. Test the organizer during the routine it is supposed to support.
How to Set Up No-Drill Storage Step by Step
Use this process for any removable or freestanding storage choice. It keeps the setup practical and reduces the chance of buying a second organizer to fix the first one.
- Empty the problem spot. Remove everything from the shelf, door, cabinet, floor corner, or counter where clutter keeps landing.
- Keep only the items that belong there. Move unrelated categories away before measuring. No-drill storage should not preserve clutter that belongs in another room.
- Measure width, depth, height, and clearance. Include door swing, drawer pull, cabinet hinges, plumbing, outlets, vents, baseboards, and walking paths.
- Pick the lightest workable option. A small bin, riser, or cart often works better than a large adhesive shelf or overloaded door rack.
- Read the installation and removal instructions. Pay attention to surface prep, cure time, humidity warnings, weight ratings, and removal method.
- Load slowly. Start with fewer items than the organizer can theoretically hold, then add only if it remains stable after normal use.
- Run a one-week test. If the system is hard to reach, blocks a door, or collects unrelated items, adjust before buying more pieces.
Pros and Cons of No-Drill Storage
No-drill storage is useful because it lowers the barrier to starting. The tradeoff is that removable options ask for more restraint than built-in storage.
Easy to test before committing
Many bins, carts, over-door racks, and freestanding organizers can be moved after a week if the first location is not right.
Good for leases with wall limits
Renters can improve entryways, closets, kitchens, and bathrooms without starting with holes, anchors, or permanent hardware.
Helps create small zones
A shallow bin, divider, hook rail, or rolling cart can give one item group a clear home in a tight apartment.
Not all surfaces cooperate
Adhesive, suction, and tension products can fail when the surface is textured, damp, dirty, uneven, or overloaded.
Can encourage overbuying
Because removable organizers feel low-risk, it is easy to add too many and make the apartment visually busier.
Common No-Drill Storage Mistakes to Avoid
The first mistake is hanging heavy daily items from adhesive hooks. A lightweight robe, tote, or small tool may be reasonable if the product allows it, but heavy bags, cookware, large baskets, and liquid bottles belong lower and more stable.
The second mistake is ignoring door fit. Over-door organizers need clearance at the top, sides, and floor. They can also make a door noisy, prevent it from closing, or create rub marks. Test the door several times before filling the organizer.
The third mistake is turning every open surface into storage. If every cabinet door, wall edge, and closet rod gets an accessory, the apartment can feel more crowded even when it is technically more organized. Leave some surfaces quiet.
A Simple No-Drill Storage Checklist
Use this checklist before you install, hang, press, or load anything in a rental.
- Does the lease allow this type of product? If not sure, ask before attaching anything to walls, tile, doors, or built-ins.
- Is the surface clean, dry, smooth, and suitable? If not, choose freestanding storage or a bin-based system.
- Can the item group stay light? Removable storage is best for small, visible, everyday categories.
- Will the door, cabinet, or drawer still work normally? Test movement before filling the organizer.
- Can the setup be removed carefully? Read removal instructions before installation, not on move-out day.
- Does the zone reset in under one minute? If not, reduce the number of items or choose a simpler organizer.
When to Get Extra Help
Get extra help if you are dealing with tall furniture, heavy shelving, large mirrors, overhead storage, damaged walls, unknown wall material, or anything near plumbing or electrical fixtures. No-drill storage is not a workaround for every safety concern.
It is also worth asking a landlord, manufacturer, or qualified installer when the product instructions are vague or the storage will hold something heavy, fragile, or risky. A calmer apartment is useful only if the setup stays stable and easy to live with.
Frequently Asked Questions
What should I check first before using no-drill storage?
Check the lease, surface type, product instructions, weight rating, and removal method. Then start with the lightest item group that solves a real daily problem.
How often should I review no-drill organizers?
Review them after the first week, then during a monthly reset. Look for peeling adhesive, door rubbing, sagging shelves, overloaded bins, and items that no longer belong there.
What should I do if I am not sure a product is safe for my wall?
Do not guess. Use the manufacturer's instructions, check your lease, and choose a lighter freestanding option if the surface or load is uncertain.
Can I undo no-drill storage later?
Usually, yes, but removal depends on the product and surface. Read the removal steps before installing, keep packaging instructions, and avoid using removable products on fragile finishes.
Final Thoughts
The best no-drill storage ideas for renters are not the biggest or most clever. They are the ideas that make one routine easier while respecting the apartment's limits. Start with one zone, keep the load light, test normal movement, and give the organizer a clear job.
If the first version works for a week, you can repeat the same calm process in another small area. If it does not work, you have learned something useful before adding more products to a home that already needs breathing room.