How to use tension rods for storage in a rental starts with a calm question: what light item needs a better home without screws, anchors, or permanent hardware? A tension rod can be helpful in a closet, cabinet, laundry nook, or under-sink area, but it works only when the opening, surface, load, and daily motion all make sense.
Think of a tension rod as a small support tool, not a magic shelf. It presses outward against two sides of an opening. That pressure can be useful for lightweight storage, but it should never carry more than the rod, the surface, or the rental space can safely handle.
Why This Matters for Rental Storage
Rentals often come with awkward gaps: a deep cabinet, a closet with unused vertical space, a laundry corner with no shelf, or a small bathroom cabinet that turns into a pile. Tension rods feel appealing because they can add a simple line of storage without drilling.
The risk is using them as if they were permanent hardware. A rod that slips under a sink can spill cleaning bottles. A rod that scrapes paint can create deposit stress. A rod placed too high can make daily items harder to reset. The goal is not to fill every gap. The goal is to make one routine easier.
For heavier furniture and storage safety more broadly, the U.S. Consumer Product Safety Commission explains why shelves, drawers, and other furniture pieces may need secure anchoring when they can tip. Tension rods are usually for light-duty organization, so keep heavy storage decisions conservative and review the CPSC tip-over safety guidance when furniture stability is part of the room.
Start With No-Drill and Renter-Friendly Storage
No-drill storage works best when the storage job is narrow. Before buying a rod, name the exact category you want to control: scarves, spray bottles, pot lids, rolls of bags, lightweight cleaning cloths, small baskets, wrapping paper, or a short row of hangers.
If the category is vague, the rod will probably become vague too. A renter-friendly setup should make the space easier to reset, not harder to understand. If you are still deciding between several no-drill options, this related ShelfCalm guide on no-drill storage ideas for renters can help you choose the lighter, simpler option before you install anything.
Choose the opening before the product
Measure the inside width of the cabinet, closet, or nook where the rod will sit. Then check whether the side surfaces are flat, clean, dry, and strong enough for light pressure. A glossy cabinet wall may behave differently from painted drywall, tile, metal, or laminate.
Keep the job light and visible
Tension rods are easiest to maintain when they hold items you can see and remove gently. If an item needs hard pulling, frequent tugging, or two hands to lift, it is probably not a good match for a pressure-fit rod.
What to Check First Before Using a Tension Rod
The first check is the surface. A tension rod needs two opposite sides that can accept pressure without denting, bowing, peeling, or shifting. Avoid fragile veneer, loose paint, damp surfaces, crumbling drywall, and surfaces you are not allowed to mark.
The second check is clearance. Open cabinet doors, closet doors, drawers, and nearby appliances before deciding on the height. A rod that fits technically may still block a hinge, catch a bottle, or make the daily motion annoying.
The third check is load. Product packaging and manufacturer instructions matter because rods vary widely. Some are meant for light curtains, some for closets, and some for small utility jobs. Do not average across products. Use the specific instructions for the rod you own.
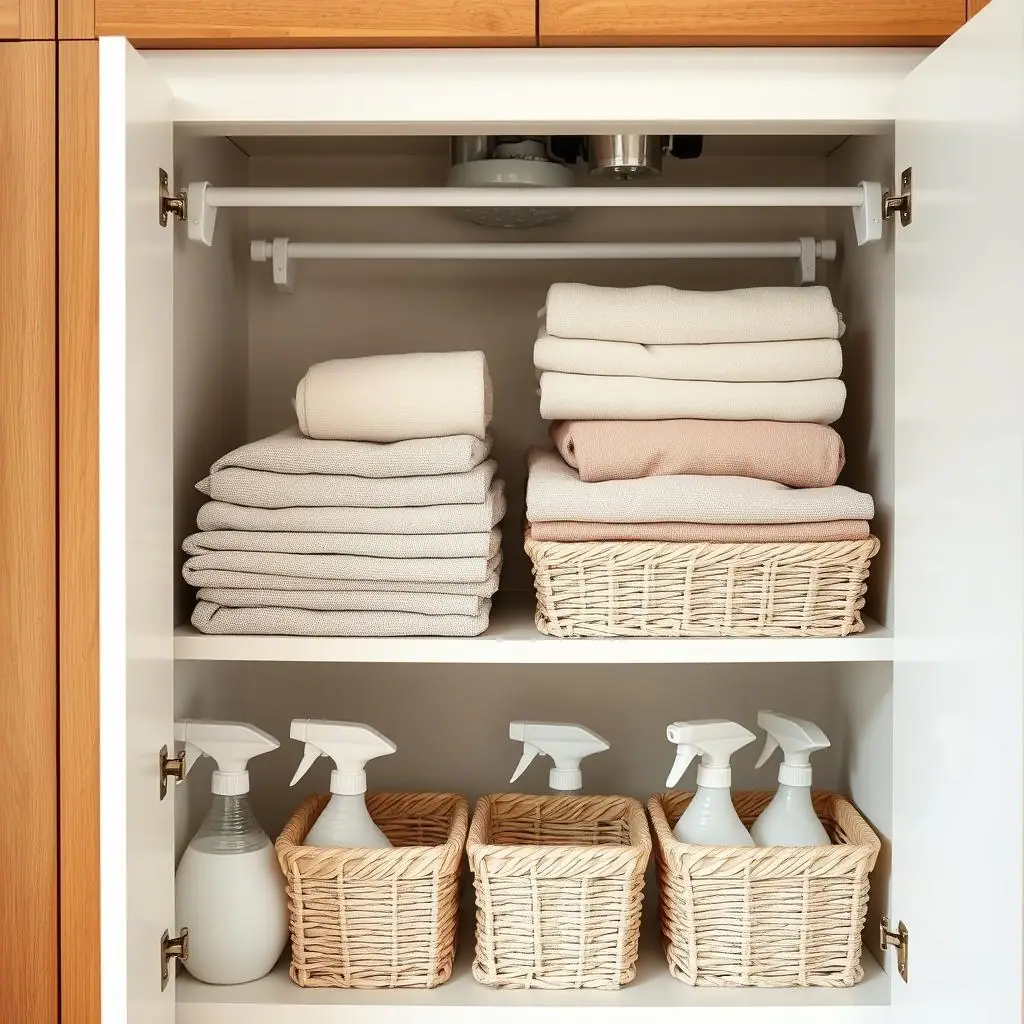
- Good tension rod jobs: lightweight cloths, a few spray bottles by the trigger, pot lids held upright, rolls of trash bags, scarves, lightweight accessories, or a simple divider line.
- Risky tension rod jobs: heavy cookware, glass bottles, liquid containers above shoulder height, overloaded hangers, anything valuable, or anything that would be dangerous if it slipped.
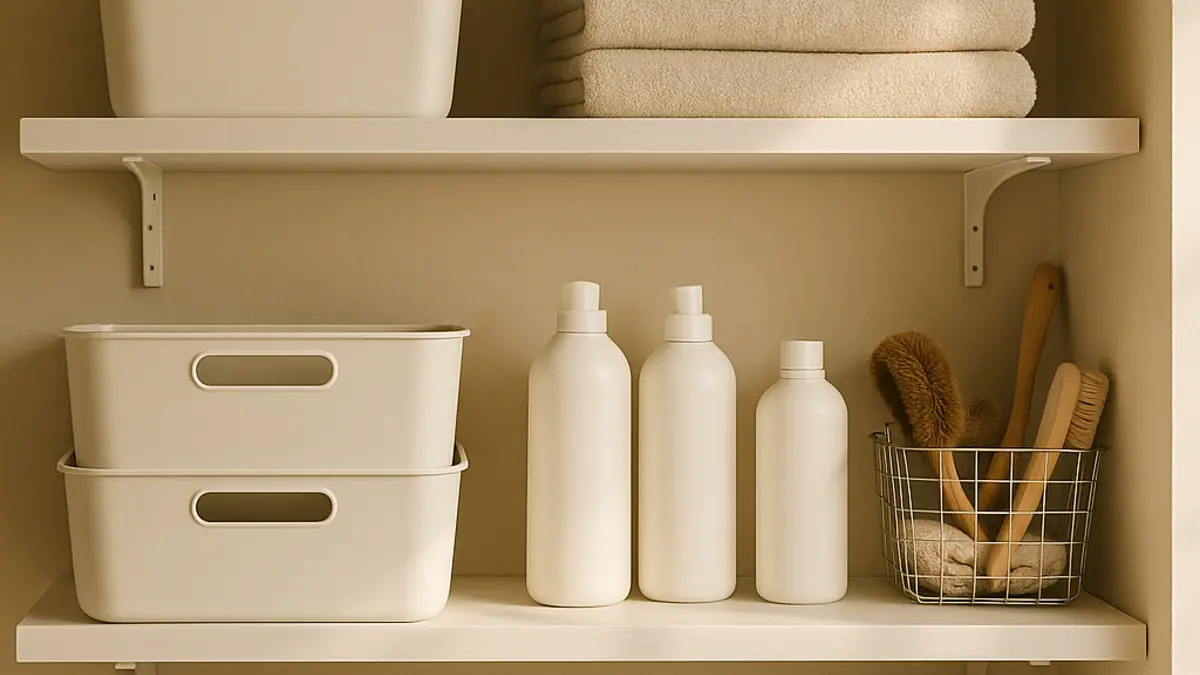
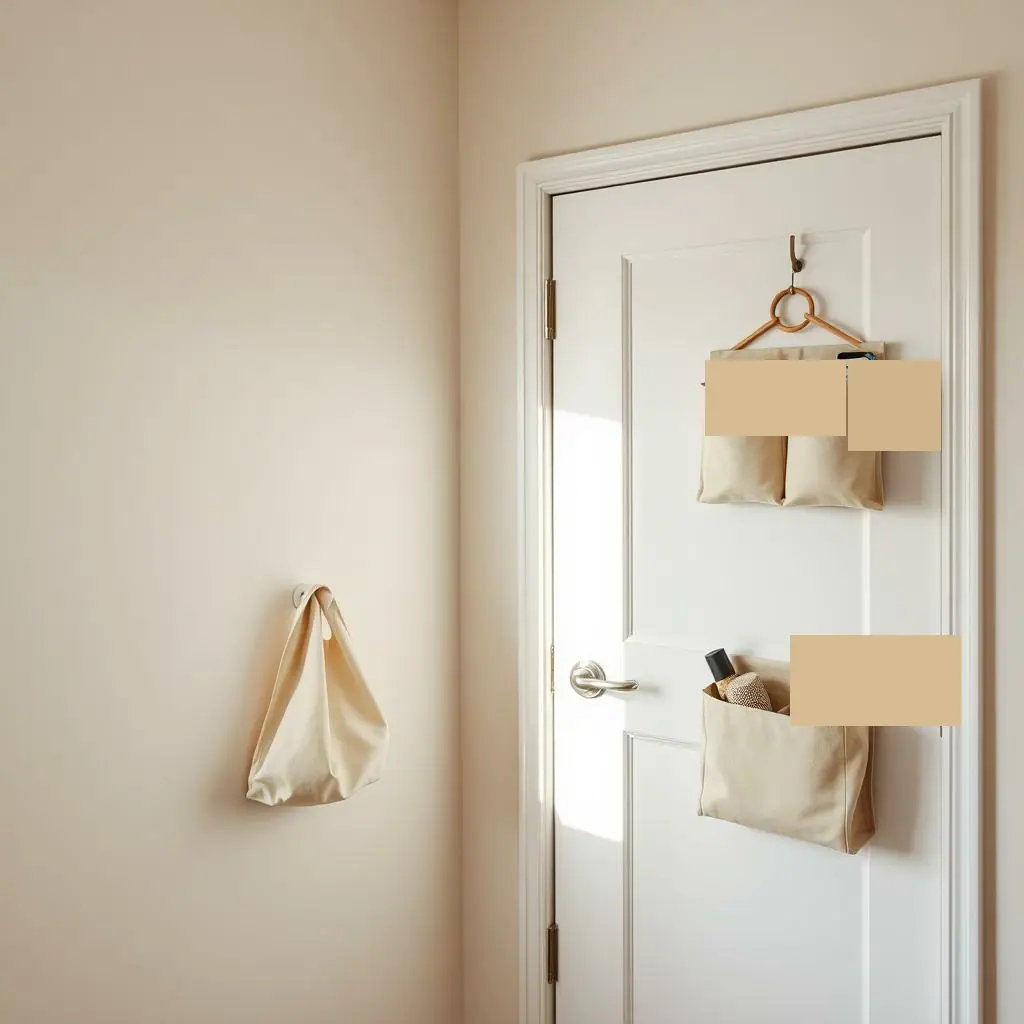
- Better alternatives: a low bin, shallow tray, freestanding shelf, over-door organizer, rolling cart, or drawer divider may be calmer when the load is heavier.
How to Use Tension Rods for Storage in a Rental Step by Step
Use this slow setup process so the rod supports the routine instead of becoming another thing to manage.
- Empty the area first. Remove everything from the cabinet, closet, or nook so you can see the real opening and the items that actually belong there.
- Sort the items by weight and frequency. Keep daily, lightweight items closest to the easiest reach zone. Move heavy or rarely used items lower.
- Measure the opening. Check the width in more than one spot, especially inside older cabinets or closets that may not be perfectly square.
- Read the rod instructions. Confirm the size range, intended use, installation method, and weight limit for that exact rod.
- Place the rod at a comfortable height. Aim for a spot where you can remove items without pulling hard or twisting your wrist.
- Load it lightly at first. Add fewer items than you think it can hold. Watch for slipping, bowing, scraping, or surface marks.
- Test the normal motion. Open doors, remove items, replace items, and reset the space as you would during a busy day.
- Review after one week. If the rod moved, sagged, or made the area more annoying, reduce the load or choose another storage method.
Pros and Cons
Tension rods can be useful in rentals, but they are not the right answer for every small-space storage problem.
No permanent holes
A properly chosen tension rod can add a light storage line without screws, anchors, or drilling into a rental surface.
Easy to reposition
If the first height does not support the routine, you can usually adjust the rod and test a calmer spot.
Useful in awkward openings
Cabinets, closets, laundry nooks, and under-sink areas often have narrow spaces where a light rod can create order.
Not made for heavy storage
Too much weight, frequent pulling, or uneven pressure can make the rod slip and turn a simple idea into a mess.
Surfaces still matter
Pressure can mark weak paint, fragile finishes, damp cabinet sides, or surfaces that were never meant to support storage.
Common No-Drill and Renter-Friendly Storage Mistakes to Avoid
The first mistake is using one long rod as a substitute for a shelf. If the items are bulky or heavy, a shelf, bin, or low container will usually be safer and easier to reset.
The second mistake is placing the rod too high. High storage looks tidy for a day, then becomes annoying because every reset requires reaching, lifting, or pulling. Keep daily items between waist and shoulder height when possible.
The third mistake is ignoring moisture. Under-sink zones, laundry corners, and bathrooms can be damp. Moisture can affect the surface, the rod ends, and the items stored there. If the spot is often wet, keep storage low, simple, and easy to remove for cleaning.
The fourth mistake is skipping the one-week review. A tension rod can feel successful during installation and still fail during real use. Check whether the rod stayed level, whether the items came down easily, and whether the space looks calmer after normal routines.
A Simple Tension Rod Checklist
Before you treat the setup as finished, run through these quick checks.
- Does the rod match the opening size? It should sit securely without being forced beyond its intended range.
- Are both side surfaces stable? Avoid weak, peeling, damp, or uneven surfaces.
- Is the load genuinely light? If the answer is maybe, choose a lower storage method.
- Can you remove items gently? Storage that requires hard pulling is a poor match for a pressure-fit rod.
- Does the door or drawer still work? Test real movement before calling the project done.
- Can the area reset quickly? If the rod creates a fussy system, simplify the category.
When to Get Extra Help
Get extra help when the rod will be near plumbing, electrical panels, heat sources, mirrors, tile you do not own, damaged paint, or a surface you cannot identify. Also pause if the items are heavy, sharp, breakable, or stored above eye level.
Ask the landlord, product manufacturer, or a qualified installer if you are unsure about the surface or load. In a rental, the safest storage system is the one you can explain, maintain, and remove without drama.
Frequently Asked Questions
What should I check first before using tension rods for storage in a rental?
Check the lease, product instructions, opening width, surface condition, and item weight. If any of those feel uncertain, start with a freestanding bin or low shelf instead.
How often should I review a tension rod storage setup?
Review it after the first week, then during a monthly reset. Look for slipping, sagging, surface marks, overloaded items, or a routine that feels harder than before.
What should I do if I am not sure the surface can handle pressure?
Do not guess. Check the rod instructions, ask the landlord if needed, or choose storage that rests on the floor or inside a sturdy cabinet base.
Can I remove a tension rod later?
Usually, yes, but removal still depends on the surface and how much pressure was used. Remove it slowly, inspect the area, and avoid using it where marks would be costly.
Final Thoughts
How to use tension rods for storage in a rental comes down to light loads, stable surfaces, and one clear job. Use them where they make a small routine easier, not where they are being asked to replace permanent hardware.
Start with the narrowest storage problem, read the instructions for the exact rod, load it lightly, and review the setup after real use. A calm rental storage choice should feel easy to reset, easy to explain, and easy to undo.