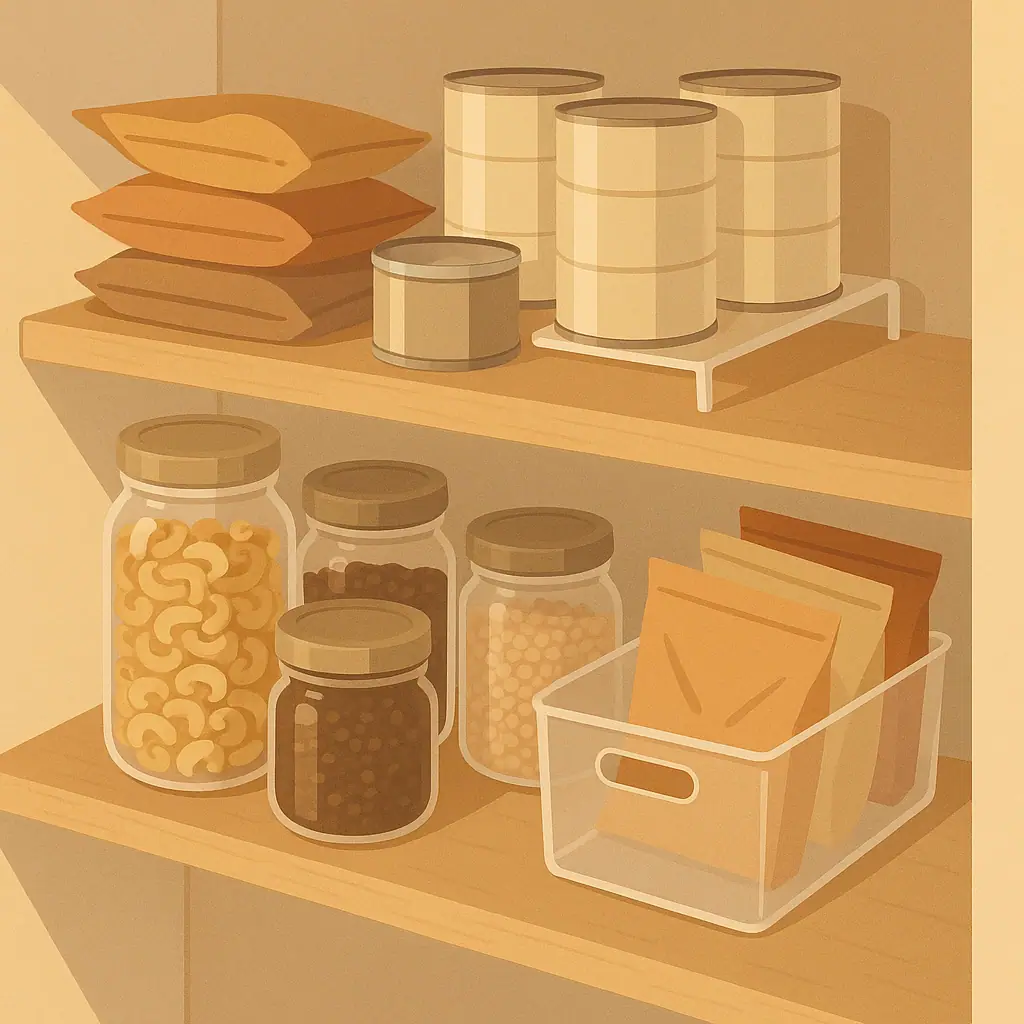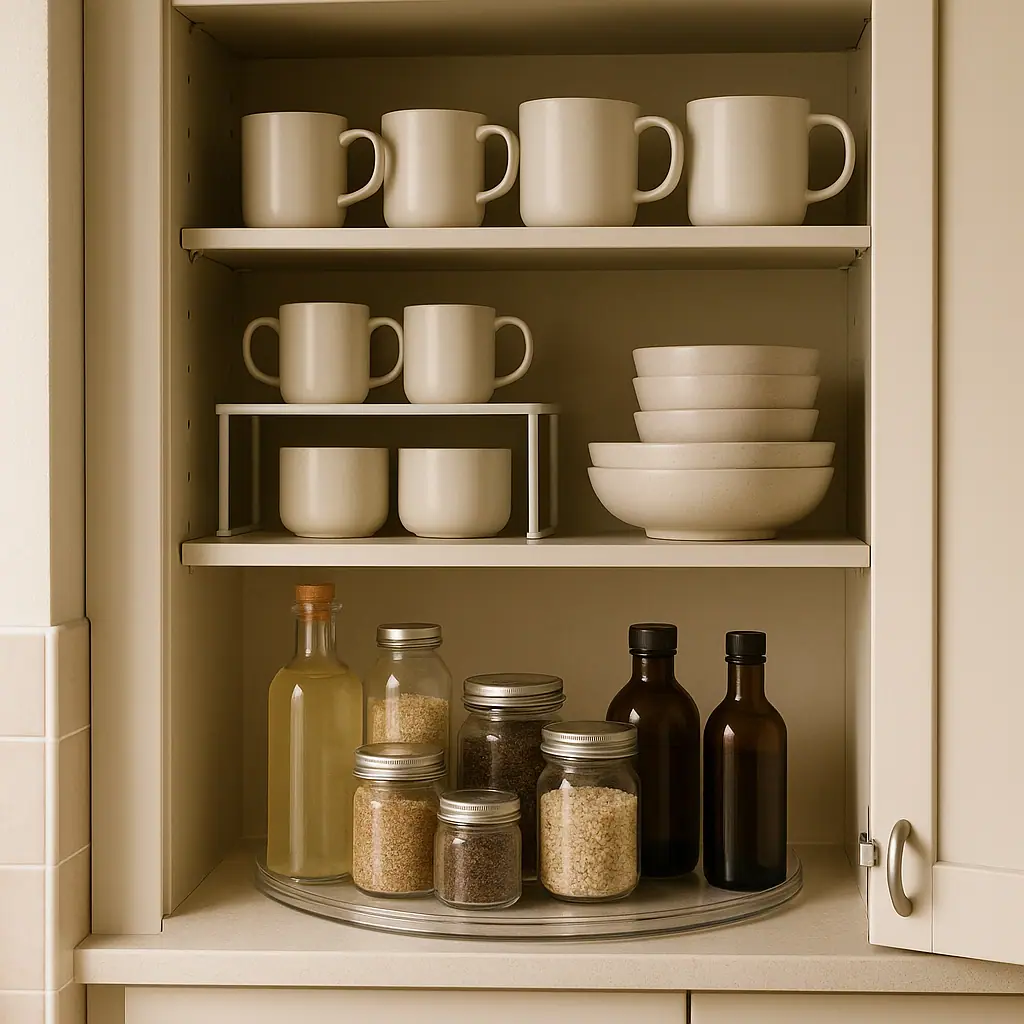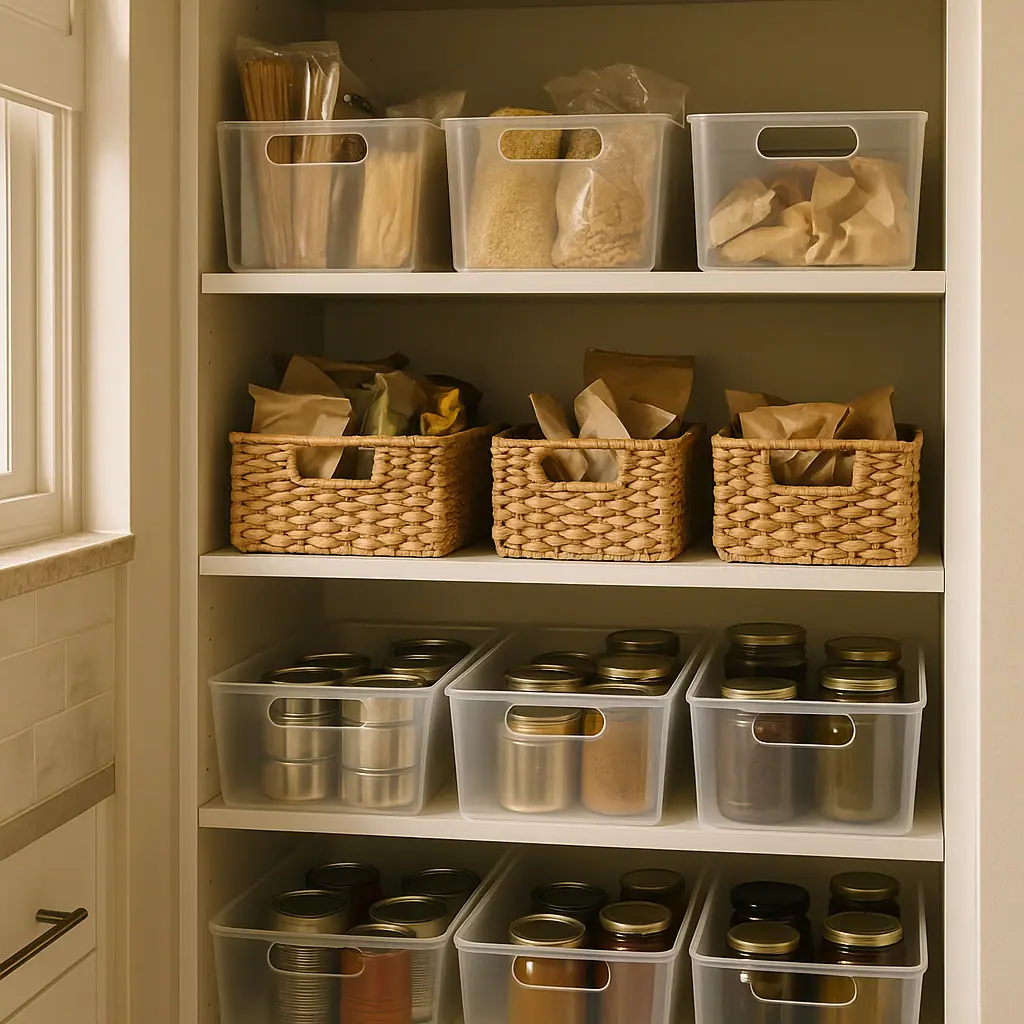
The best pantry bins for deep shelves and small kitchens are the bins that solve one clear problem: they help you reach the back of the shelf without turning the front into a wall. A deep pantry shelf can look generous at first, but it often hides duplicate cans, half-open snacks, and small packets that disappear behind taller boxes.
In a small kitchen, every organizer has to earn its space. A bin that is too wide wastes shelf width. A bin that is too tall blocks the label behind it. A bin with no clear job becomes another junk drawer, only higher and harder to clean.
Why Deep Pantry Shelves Need Pull-Out Thinking
Deep shelves are not automatically better than shallow shelves. They hold more, but they also make the back row harder to see. The easiest fix is to think of a pantry bin as a removable drawer, not as decoration. If you can pull the bin forward, see the contents, and return it without knocking over the front row, it is doing useful work.
This matters most in small kitchens because the pantry may also share space with baking supplies, breakfast items, lunch snacks, oils, cans, and backup groceries. Without zones, the shelf becomes a stack of good intentions.
Food storage also deserves a plain safety check. FoodSafety.gov explains that the FoodKeeper helps people understand food and beverage storage so items can stay fresh longer when stored properly: FoodSafety.gov FoodKeeper.
Use that principle when choosing bins. A container should make food easier to identify, rotate, and keep sealed. It should not hide dates, allergens, package directions, or open items that need to be used soon.
Start With the Shelf, Not the Bin
Before comparing materials or handle styles, empty the shelf and measure the usable width, depth, and height. Include the cabinet frame, shelf lip, hinges, and any pipes or uneven spots that reduce the real space. Many deep shelves look rectangular until a tall bin catches on the door frame.
Measure usable depth
Measure from the front edge of the shelf to the back wall, then subtract a little room for your hand. A bin that fills the entire depth may technically fit, but it can be awkward to pull out when the shelf is full.
Check vertical clearance
Height matters as much as depth. If the shelf above is low, a tall bin can force you to tilt food sideways. That is fine for sealed snack bags, but not ideal for jars, cans, oils, or anything that can leak.
When a product has assembly parts, weight guidance, or specific care instructions, check the maker's support information before relying on it. IKEA's product support page, for example, points shoppers toward product guidance, assembly guides, recalls, and buying guides: IKEA product support.
Best Pantry Bin Types for Deep Shelves
The best pantry bins for deep shelves and small kitchens are usually simple, open-top, easy to pull, and sized for one category. Start with the friction you have, then match the bin to that job.
Clear pull-out bins for hidden back rows
Clear plastic bins work well for snack bags, breakfast packets, small baking add-ins, pouches, and lightweight backup items. They let you pull the whole category forward instead of reaching past three other rows. Choose straight sides when possible because sloped sides can waste width on a tight shelf.
Low bins for cans and jars
Low-sided bins help when the problem is sliding, not hiding. They can keep cans, jars, sauces, or small bottles grouped while still letting you see labels from above. Keep heavier items in low bins so the pull-out motion stays controlled.
Handled baskets for lightweight backup stock
Open baskets can work for napkins, extra tea boxes, lunch bags, or packaged snacks. They are less helpful for tiny packets that fall through gaps or food that needs airtight storage. If the basket is opaque, use it for one obvious category, not a mixed pantry zone.
Narrow bins for small kitchens
A narrow bin can be better than a large bin on a crowded shelf. It lets you separate breakfast, snacks, baking, or dinner helpers without committing the whole shelf to one container. Two narrow bins are often easier to reset than one wide bin that becomes too heavy.
How to Choose Pantry Bins Step by Step
A calm pantry system starts with the shelf you already have. Use this sequence before buying or rearranging anything permanent.
- Empty one shelf. Work on one deep shelf at a time so the project stays small and honest.
- Group food by routine. Put breakfast, snacks, baking, dinner helpers, and backup stock into separate piles.
- Choose the hardest group first. Start with the items that disappear, spill, or block other food.
- Measure the group. Check width, depth, height, and weight before choosing a bin.
- Pick one bin style for one job. Use clear pull-out bins for visibility, low bins for heavier jars, and baskets only for light categories.
- Leave a landing gap. Keep a little space for the next grocery trip so the shelf does not overflow immediately.
- Test for one week. If the bin is easy to pull, refill, and return, it can stay. If not, change the category before buying more.
Common Pantry Bin Mistakes to Avoid
Most pantry bin mistakes come from buying for the shelf photo instead of the shelf behavior. A small kitchen needs fewer decisions and better reach.
Better back-row access
Pull-out bins make deep shelves easier to use because the hidden items come forward as a group.
Clearer grocery resets
A bin with one job shows when snacks, cans, or breakfast items are actually running low.
Renter-friendly change
Most pantry bins improve storage without drilling, adhesive, cabinet changes, or permanent hardware.
Can hide too much
Opaque or oversized bins can make labels, dates, and duplicate food harder to notice.
May waste shelf height
Tall bins on short shelves can block the space above and make items harder to remove safely.
A Simple Pantry Bin Checklist
Use this checklist before you buy a bin or keep one in the pantry. It is short enough to repeat after a normal grocery trip.
- Can I pull it forward with one hand? If not, it may be too deep, too heavy, or too full.
- Can I see what is inside? Clear sides, low sides, or one obvious category make the bin easier to maintain.
- Does it fit the shelf height? Leave enough clearance to remove the bin without tipping food sideways.
- Is the category specific? Snacks, breakfast, cans, baking packets, or dinner helpers work better than miscellaneous pantry.
- Are dates and instructions still visible? Do not decant or hide packages when storage directions, allergens, or use-by dates matter.
- Is there room for restocking? A bin filled to the top on day one will be frustrating after the next grocery trip.
When to Skip Pantry Bins
Sometimes the best choice is no bin at all. Tall cereal boxes, cooking oils, very heavy cans, and frequently used jars may behave better in a simple row. A riser, turntable, or plain front-back arrangement may solve the problem with less container clutter.
Skip a bin if it makes the item harder to identify, harder to lift, or harder to return. Also skip it when the bin encourages you to keep more backup food than the kitchen can realistically hold.
Frequently Asked Questions
What should I check first when choosing pantry bins for deep shelves?
Check the usable shelf depth and the food group you want to store. The best bin should pull forward smoothly and hold one clear category.
Are clear pantry bins better than baskets?
Clear bins are usually better for deep shelves because they show what is inside. Baskets can still work for lightweight, obvious categories like napkins or packaged snacks.
How many pantry bins should a small kitchen use?
Start with one or two bins for the hardest shelf. Add more only after the first bins prove easy to pull, refill, clean, and reset.
Can pantry bins make a shelf less organized?
Yes. Too many bins can hide food, waste shelf height, and create narrow categories that are hard to maintain. A useful bin should make the next reset simpler.
Final Thoughts
The best pantry bins for deep shelves and small kitchens are practical tools, not a full makeover. Choose bins that pull forward, show what they hold, and protect the routine you already use.
Start with one deep shelf, one frustrating category, and one measured bin. If the shelf is easier to open, understand, and reset after a week, you made the right choice.