Learning how to organize cleaning supplies in a rental starts with two practical questions: where can the supplies live safely, and how can the setup stay easy to reset after a normal cleaning day? In a small apartment, bottles, sprays, sponges, gloves, trash bags, and refills often drift into the sink cabinet, laundry nook, bathroom shelf, and entry closet until no one is sure what belongs where.
The goal is not to create a picture-perfect cleaning closet. The goal is a calm storage routine that keeps daily supplies reachable, separates stronger products from casual tools, protects rental surfaces, and prevents the same half-used bottles from multiplying in three different corners.
Why How to Organize Cleaning Supplies in a Rental Matters
Cleaning supplies are different from towels, paper goods, or spare light bulbs. Some are harmless in normal use, but others can irritate skin, eyes, lungs, or surfaces if they are stored poorly, mixed by mistake, or left where a child, guest, or pet can reach them.
Poison Control advises keeping cleaning products in their original containers with labels intact, storing household cleaners away from foods and medications, and using child-resistant latches when children may be present: Poison Control guidance on container transfers.
That safety habit also makes the apartment easier to maintain. When every bottle has a label, every refill has a home, and every tool has a drying spot, you can see what you own before buying more. A calmer setup reduces clutter and helps the next cleaning session start without a search through three cabinets.
Start With One Utility Zone
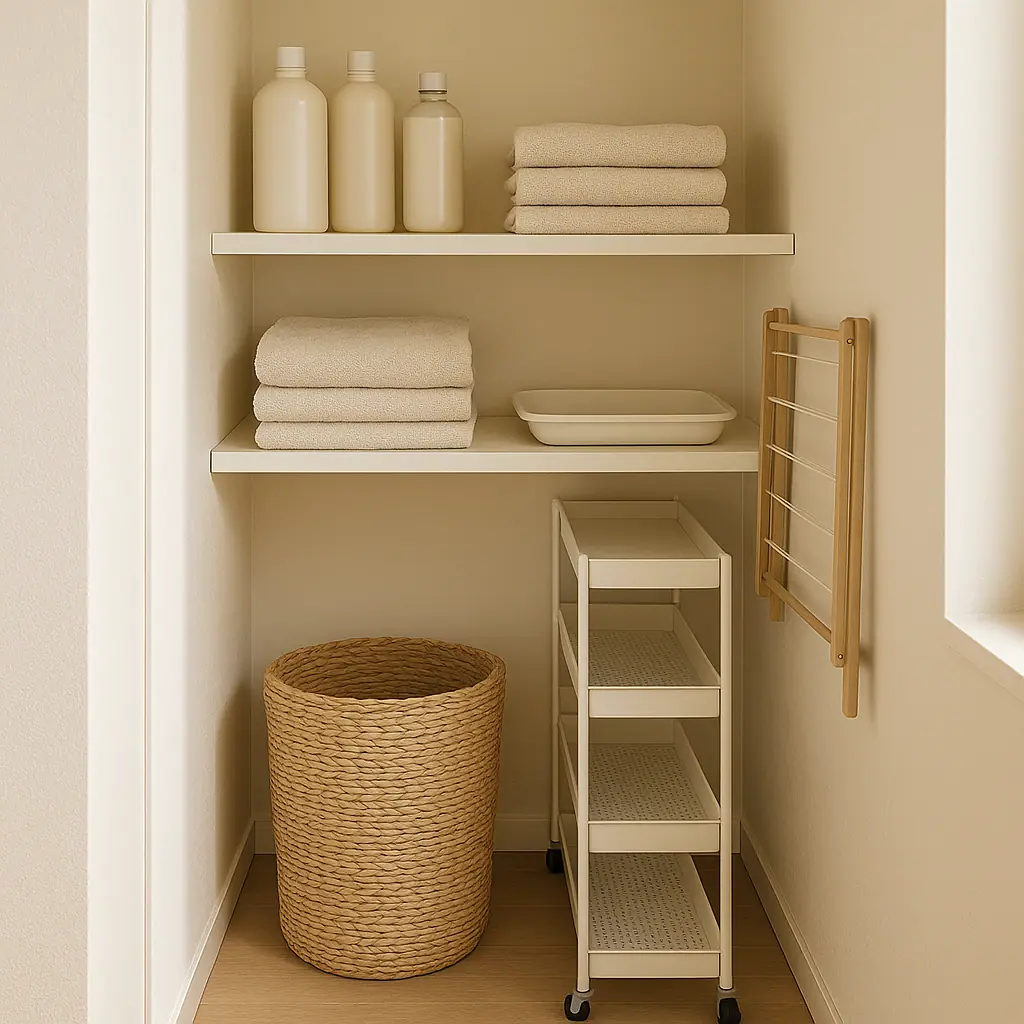
Before buying a cart, caddy, shelf, or bin, choose the main utility zone. In many rentals, that zone is a laundry nook, a high cabinet, a hall closet shelf, or a section of the under-sink cabinet. The right answer is the place that is reachable for adults, away from food, easy to inspect, and not blocking plumbing or ventilation access.
Separate products from tools
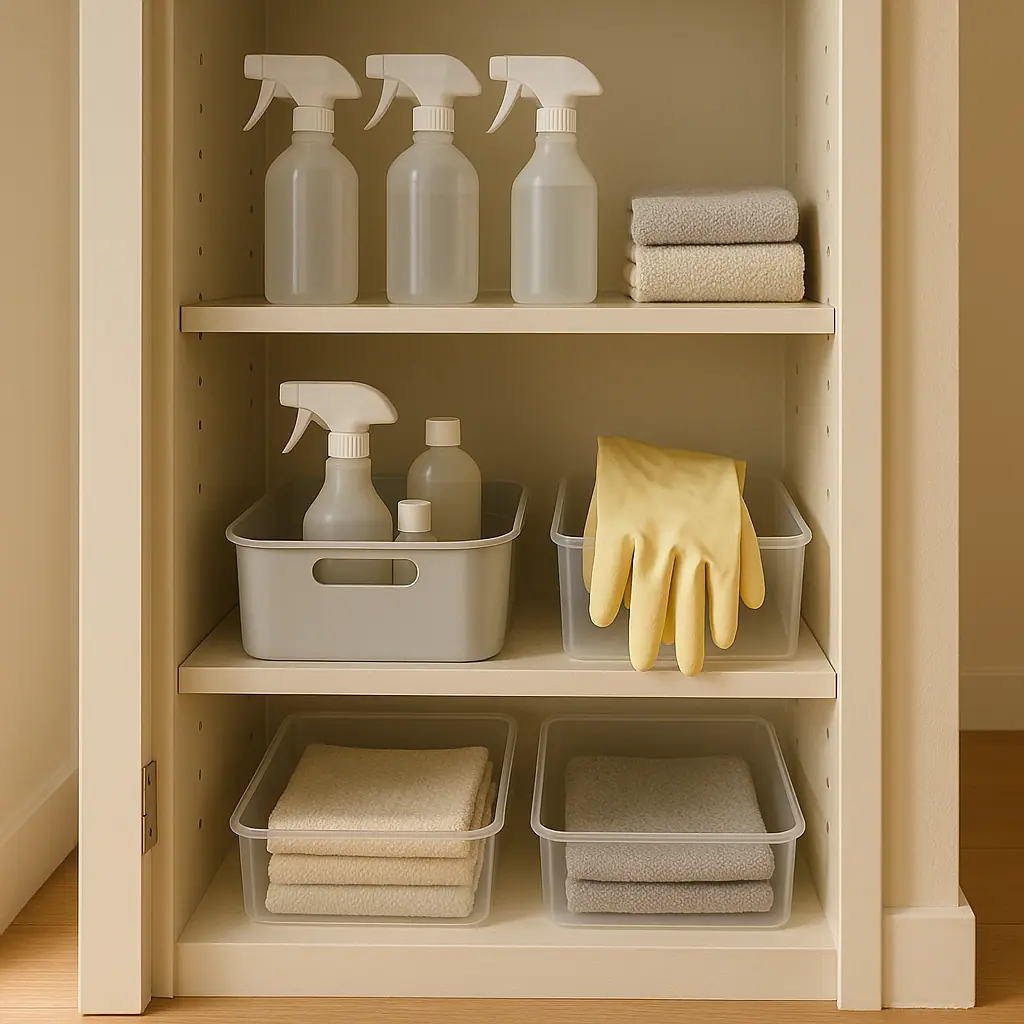
Cleaning products and cleaning tools do not need to share the exact same bin. Bottles and sprays should stay upright, labeled, and grouped by use. Tools such as microfiber cloths, scrub brushes, gloves, trash bags, dusters, and mop pads can live nearby in a separate basket or drawer.
- Daily cleaners: keep one or two frequently used products in the easiest adult-reachable spot.
- Specialty cleaners: store products for oven, drain, mildew, or heavy-duty jobs farther back or higher, with labels visible.
- Refills: keep bulk refills out of prime space so they do not crowd the everyday setup.
- Tools: give cloths, brushes, gloves, and sponges a dry place instead of dropping them into the bottle bin.
Respect rental access points
Under-sink storage is tempting, but it should not hide leaks, crowd pipes, or make it hard to reach shutoff valves. If you use that space, choose a shallow bin or tray that can slide out quickly. Avoid stacking supplies so high that you cannot inspect the back of the cabinet.
What to Check First for Cleaning Supplies in a Rental
Walk through the apartment with the actual products you own. Look for heat sources, food storage, medicine storage, low cabinets, damp areas, plumbing, pets, and any spot that guests or children can access. This quick scan usually shows which storage ideas are safe enough to test and which ones only look convenient.
Also read the product labels before combining or storing items together. Poison Control notes that cleaning products should be used only as directed, should not be mixed with other household cleaners, and should be used in well-ventilated areas when fumes may be a concern: Poison Control cleaning product prevention tips.
After product safety, check the furniture or organizer itself. A narrow cart, tall cabinet, or freestanding shelf may need to be loaded carefully. The U.S. Consumer Product Safety Commission's Anchor It guidance focuses on preventing furniture and TV tip-overs and encourages following manufacturer instructions for securing top-heavy furniture when needed: CPSC Anchor It safety guidance.
How to Organize Cleaning Supplies in a Rental Step by Step
Use this process as a one-hour reset. It works for a studio apartment, shared rental, small laundry closet, or a home where cleaning supplies have slowly spread into too many places.
- Gather every cleaning item. Bring together sprays, concentrates, wipes, brushes, sponges, gloves, mop pads, trash bags, laundry stain tools, and backup refills.
- Check labels and condition. Keep products in original containers. Set aside anything leaking, unreadable, expired by label guidance, or no longer useful.
- Group by job. Make groups for kitchen, bathroom, floors, laundry, glass, trash, and specialty cleaning instead of sorting by bottle size.
- Choose the adult-use zone. Pick a place that is easy for responsible adults to reach but not casual for children, pets, or guests.
- Separate strong products. Keep bleach, ammonia-based products, drain cleaners, oven cleaners, and other stronger items away from everyday cloths and casual grab-and-go supplies.
- Create a dry tool zone. Store gloves, cloths, scrub brushes, and sponges where they can dry fully before being closed into a bin.
- Limit duplicates. Keep one active bottle of each daily cleaner and store unopened refills behind or above the active set.
- Test the routine for two cleaning sessions. Notice what you reach for, what gets returned easily, and what still lands on the counter or floor.
Pros and Cons of Common Rental Cleaning Supply Setups
The best setup depends on your lease, layout, household, and cleaning habits. Use these tradeoffs before choosing a permanent home for supplies.
A removable caddy keeps routines simple
A small caddy can hold daily supplies and return to the main utility zone after cleaning.
Clear bins make duplicates visible
Transparent bins help you see extra sponges, cloths, and refills before buying more.
High shelves preserve under-sink access
Moving backups to a high utility shelf can keep plumbing areas easier to inspect.
Under-sink bins can hide leaks
A deep bin may cover plumbing problems unless it slides out easily and gets checked often.
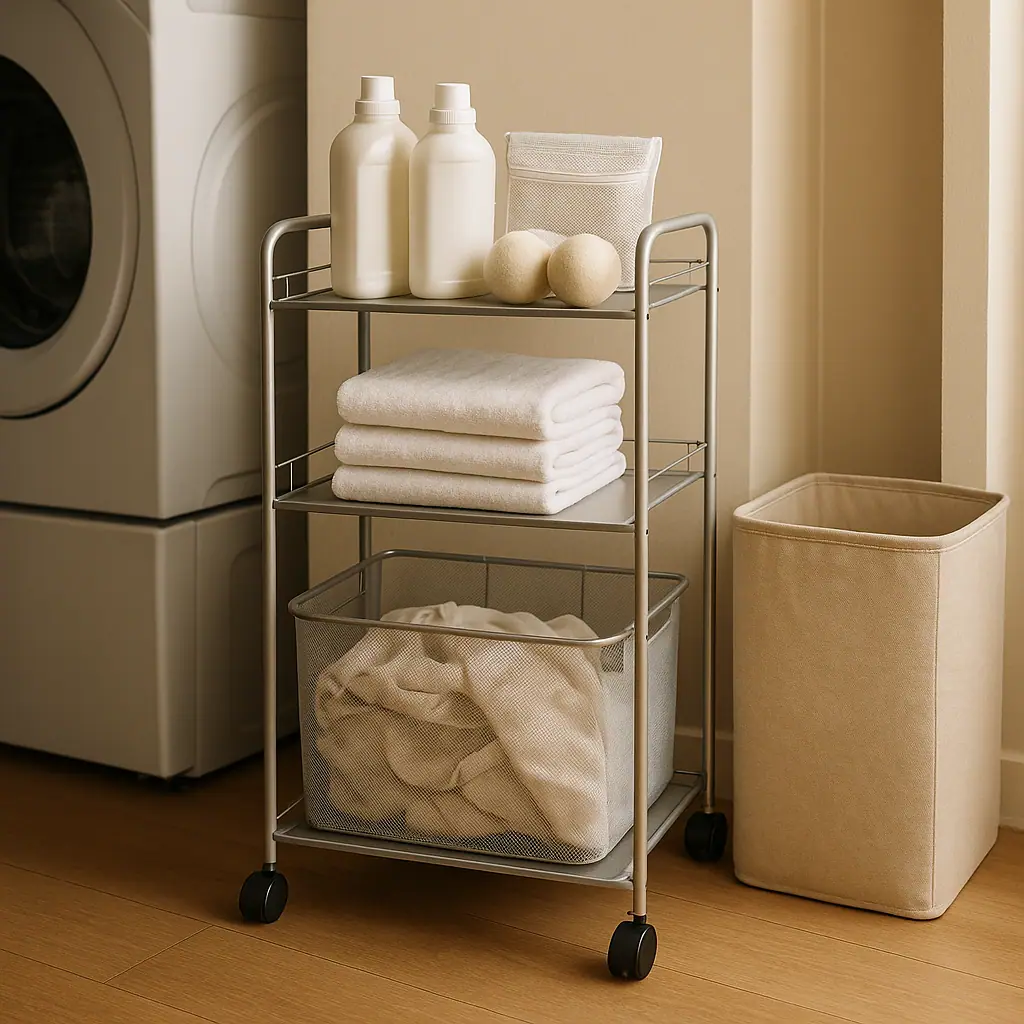
Rolling carts can become catch-alls
A cart without strict categories may collect tools, bottles, laundry items, and random household extras.
Common Utility Corner Mistakes to Avoid
The first mistake is decanting products into prettier bottles without keeping labels. Cleaning products are not pantry staples. Labels, instructions, ingredients, warnings, and emergency information matter more than a matching shelf.
The second mistake is storing too many products at floor level. A low cabinet may be convenient, but it can be risky in homes with children, visiting relatives, pets, or frequent guests. If low storage is your only option, use safer barriers and keep the strongest products somewhere more controlled.
The third mistake is treating the cleaning zone as a dumping ground for everything utility-related. Batteries, light bulbs, tools, pet products, medicine, and food overflow should not be mixed into the same bin as cleaners. A mixed bin makes it harder to notice leaks, fumes, spills, or missing labels.
A Simple Cleaning Supply Checklist
Use this checklist when you reset the zone or decide whether a new organizer is actually helping.
- Are products in original containers? If not, restore the label or stop using the container for cleaner storage.
- Can labels be read without emptying the whole bin? Turn bottles forward and avoid deep stacks.
- Are cleaners away from food and medicine? Move them if they share space with pantry, pet food, supplements, or first-aid items.
- Can tools dry before storage? Wet sponges, gloves, and cloths need air before they go into a closed bin.
- Can plumbing be inspected? Under-sink storage should slide out without a full cabinet excavation.
- Does the lease allow the organizer? Check before drilling, mounting, or using adhesive products on painted or finished surfaces.
When to Get Extra Help
Get extra help if a storage idea involves mounting heavy shelves, anchoring tall furniture, storing products around children, cleaning up a chemical spill, or using a product with warnings you do not understand. A lease, manufacturer label, poison center, or building manager is a better source than a guess.
If a bottle is leaking, unlabeled, unusually strong-smelling, or accidentally mixed with another cleaner, do not treat it as an organizing problem. Follow the product label, ventilate if instructed, and contact the appropriate help resource for the situation.
Frequently Asked Questions
What should I check first when organizing cleaning supplies in a rental?
Check labels, leaks, and storage location first. Products should stay identifiable, upright, away from food and medicine, and out of casual reach for children, pets, or guests.
How often should I review the cleaning supply zone?
Review it once a month or after a bigger cleaning day. Remove empty bottles, dry out tools, check for leaks, and move duplicates out of the active zone.
Can I store cleaners under the sink?
Sometimes, but only if the area stays dry, products remain upright, plumbing is easy to inspect, and the cabinet is not easily accessible to children or pets.
Can I undo this setup later?
Yes. Start with movable bins, trays, and caddies. Mounted shelves, adhesive organizers, and tall furniture should wait until you know the routine works.
Final Thoughts
How to organize cleaning supplies in a rental comes down to a calm set of limits: keep labels, separate tools from products, protect plumbing access, avoid duplicates, and check instructions before storing or using anything unfamiliar.
Start with one small reset today. Gather the scattered supplies, choose one main utility zone, and remove anything that does not belong there. A safer, clearer cleaning routine usually begins with less mystery, not more storage.