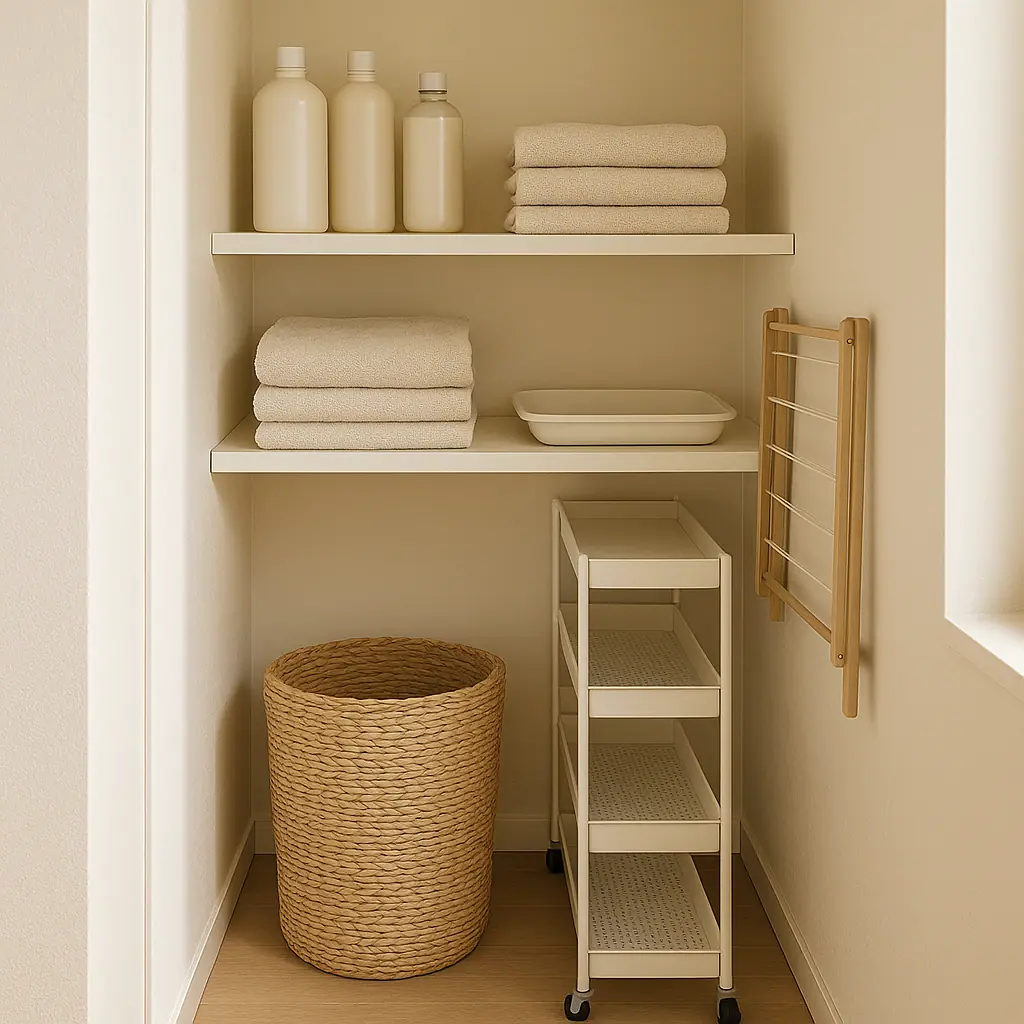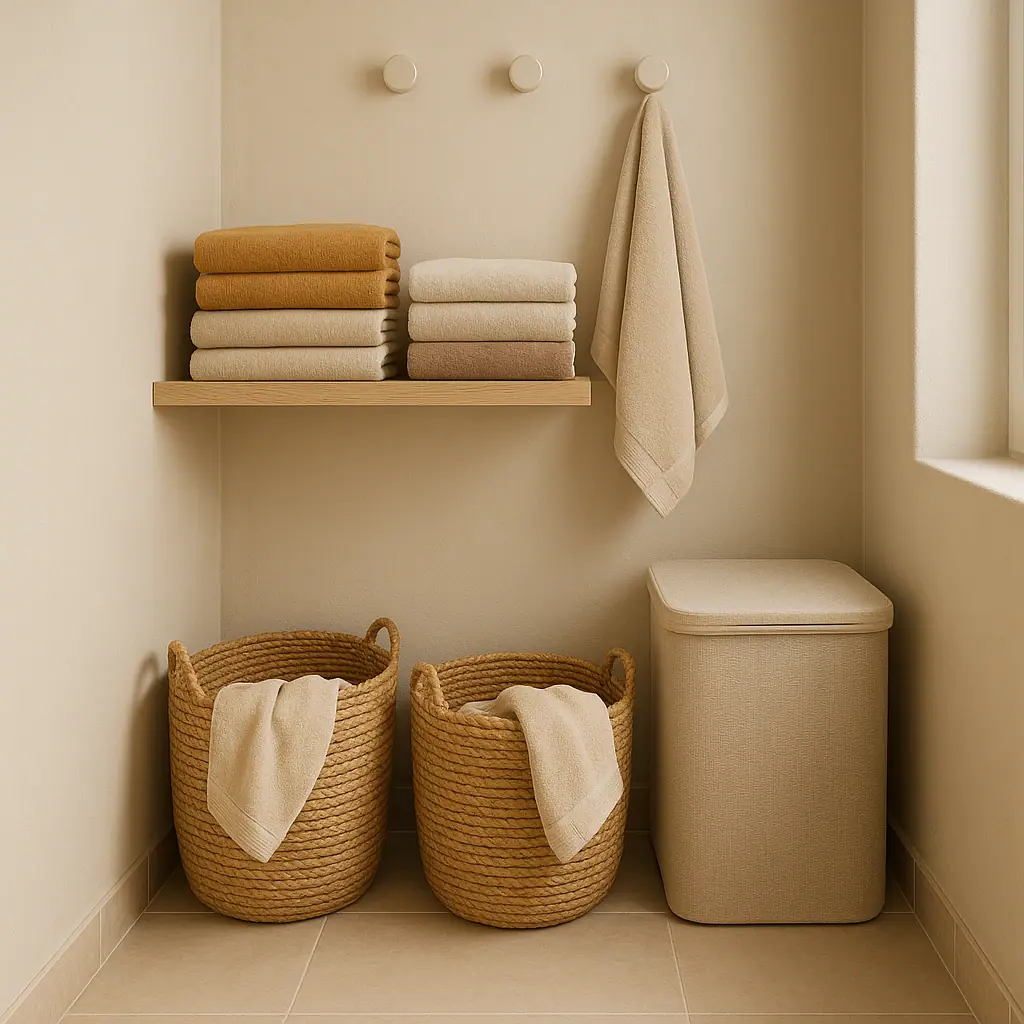
Laundry room shelf ideas for tight spaces work best when the shelf has one clear job, not a dozen hopeful jobs. A narrow laundry nook, closet laundry setup, or shared utility corner can quickly collect detergent, stain tools, dryer balls, towels, paper goods, batteries, bags, and cleaning extras. The room feels smaller because every item is fighting for the same small ledge.
The calmer approach is to treat each shelf as a working station. The items you touch every laundry cycle should sit where your hand naturally lands. Backups, bulky bottles, and occasional supplies can live higher, lower, or in a nearby bin. A tight laundry room does not need a dramatic makeover; it needs shelf limits that match real use.
Why Laundry Room Shelf Ideas for Tight Spaces Matter
A laundry area is active storage. You do not just look at it; you reach into it while carrying clothes, measuring detergent, cleaning lint, sorting towels, or trying to finish a chore before dinner. If the shelves are too deep, too high, or packed with unrelated items, the whole routine slows down.
Shelves also affect safety and wear. Heavy bottles stored overhead are awkward to lift. Tall freestanding units can become unstable if they are overloaded or placed on uneven flooring. If you use a bookcase, cabinet, or tall shelf near a laundry zone, check the maker's instructions and consider anchoring where appropriate. The U.S. Consumer Product Safety Commission has a furniture tip-over safety center with guidance for reducing tip-over risk: CPSC tip-over safety guidance.
For readers working with a closet-style setup, the same thinking applies to a compact routine like organizing a laundry nook in an apartment. Shelves should support the chore, not turn the nook into a hidden storage pile.
Start With the Shelf Jobs
Before buying anything, name the jobs your laundry shelves need to do. Most tight spaces only need three or four jobs: active detergent, stain treatment, small tools, and backup supplies. If you add towels, cleaning products, pet supplies, bulk paper goods, and random household extras, the shelf stops being a laundry shelf and becomes a catch-all.
Keep active supplies in the reach zone
The reach zone is the shelf or section you can use without stretching, bending deeply, or moving another item first. Put the detergent, stain spray, mesh bags, lint roller, and dryer balls here if you use them every week. Keep the count small enough that each item returns to the same spot.
Move backups out of the prime shelf
Backup detergent, extra dryer sheets, paper towels, and unopened cleaning supplies do not need the easiest shelf. Store them higher, lower, or in a labeled bin away from the washer if your laundry zone is extremely tight. Prime shelf space should serve today's load, not every future purchase.
What to Check First for Laundry Room Shelf Ideas for Tight Spaces
Start with measurements. Write down shelf width, depth, and usable height, then check door swing, washer lid clearance, appliance vibration, and whether the shelf blocks a vent, outlet, shutoff valve, drain, or access panel. A shelf that technically fits can still be wrong if it makes maintenance harder.
Next, check the surface and installation method. Renter-friendly adhesive shelves, tension shelves, over-door organizers, and freestanding units all have limits. Do not guess at weight ratings, wall type, moisture exposure, or removal steps. Read the product instructions before loading bottles or tools, and keep heavy liquid products low when possible.
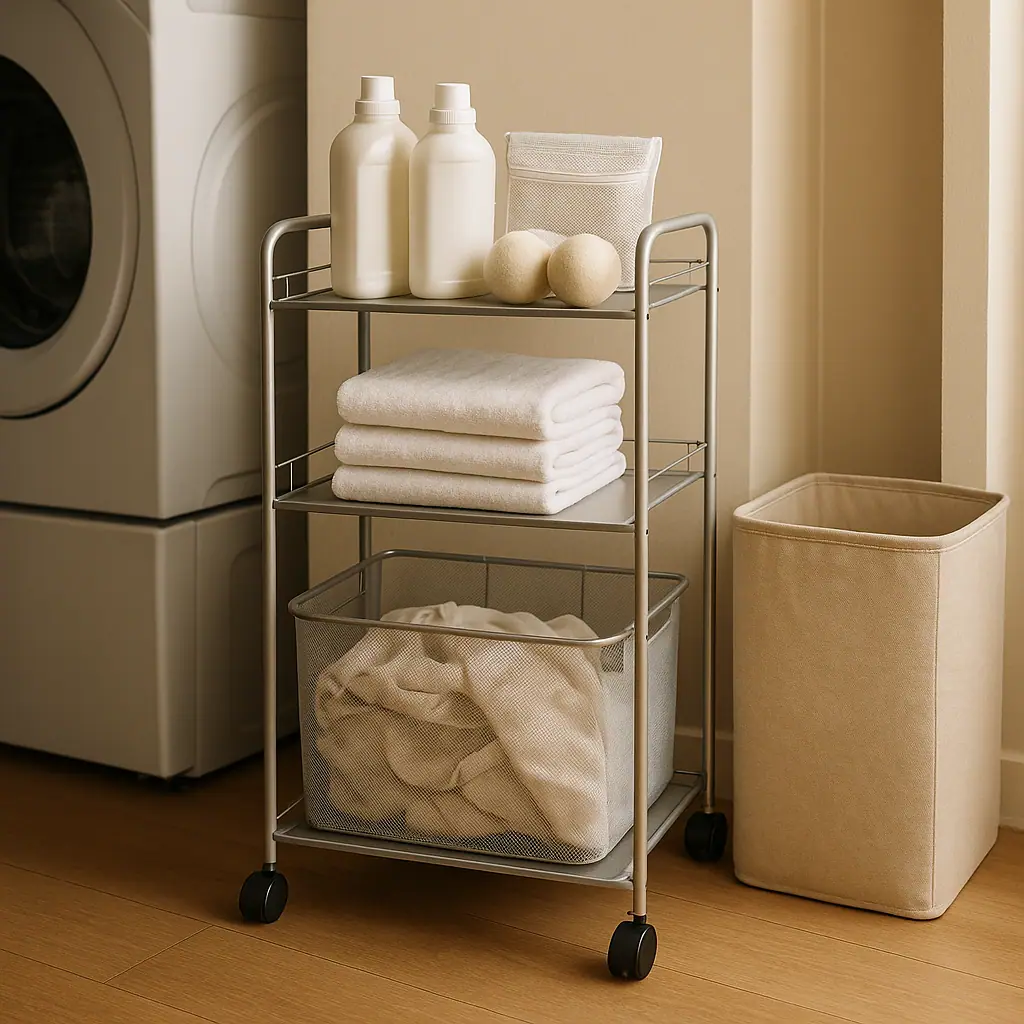
If you already use a movable helper, compare it honestly with your shelf plan. A cart may work better for some homes than wall shelves, especially if the only open wall is above the machines. This is why guides like rolling carts for laundry supplies in small spaces can be useful before you commit to fixed storage.
How to Set Up Laundry Shelves Step by Step
Use this process for a laundry closet, hallway laundry area, bathroom laundry corner, or tiny utility room. The order matters because it prevents buying a shelf before you know what the shelf must solve.
- Empty the current shelf or top surface. Remove everything from the shelf, washer top, dryer top, or nearby floor so you can see the real volume of supplies.
- Sort by laundry cycle. Make groups for wash, dry, stain care, garment care, cleaning extras, and backups. Anything unrelated should move out of the laundry zone.
- Pick one active shelf. Choose the most comfortable shelf for weekly supplies only. This shelf should not hold unopened bulk items.
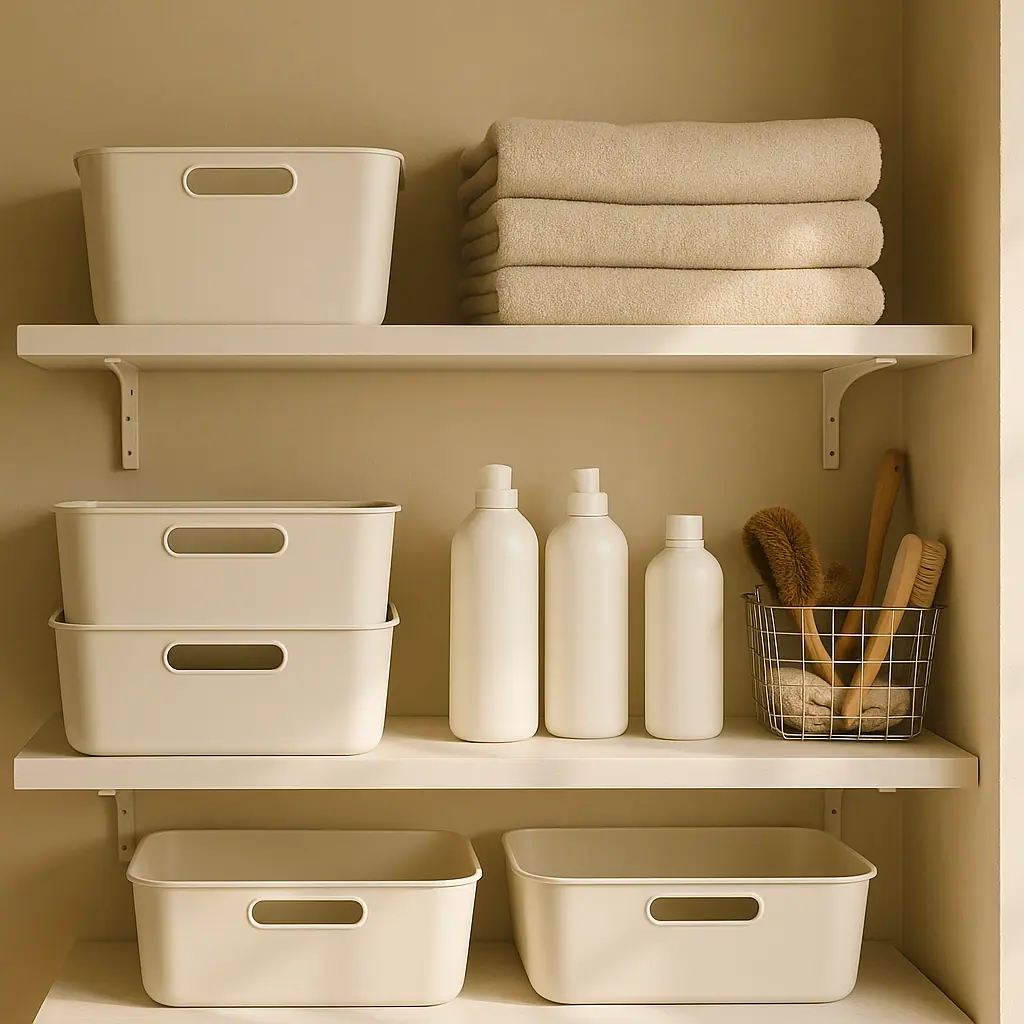
- Use shallow containment. A tray, low bin, or narrow basket keeps bottles from drifting while still letting you see what is inside.
- Store heavy liquids low. Place large detergent jugs, bleach, and refill containers where they can be lifted without reaching overhead.
- Keep small tools visible. Use a small cup, divided tray, or narrow bin for lint rollers, clothespins, measuring cups, mesh bags, or spare buttons.
- Leave service access clear. Do not block hoses, vents, shutoff valves, outlets, or appliance doors with shelving or bins.
- Test one full laundry day. After a normal laundry cycle, adjust anything that felt hard to grab, return, or clean around.
Pros and Cons of Common Laundry Shelf Setups
The best choice depends on the room shape, lease rules, and how often you do laundry. These tradeoffs can help you choose a setup that will stay useful after the first week.
Open shelves are quick to use
Daily supplies stay visible, which makes it easier to notice duplicates and return items after each load.
Shallow bins stop bottle drift
A low tray or bin creates a boundary without hiding the detergent, stain remover, or small laundry tools.
Vertical space can free the floor
A careful shelf plan can move light supplies off the appliance tops and floor, making the laundry area easier to sweep and reset.
Overhead storage can become awkward
Large bottles, refill containers, and heavy baskets are uncomfortable and risky to lift from high shelves.
Too many categories create clutter
If the shelf holds laundry, cleaning, paper goods, tools, and random extras, it will stop supporting the laundry routine.
Common Laundry Shelf Mistakes to Avoid
The first mistake is treating the space above the washer and dryer as unlimited storage. That spot may be convenient, but it is also where people reach while distracted. Keep it light, visible, and easy to wipe down.
The second mistake is hiding liquids in deep bins. Deep bins look tidy for a day, then small bottles disappear behind large ones and duplicates start forming. If you need bins, choose shallow containers or use one bin for backups only.
The third mistake is ignoring maintenance access. Laundry rooms need practical clearances for hoses, vents, shutoffs, appliance doors, and cleaning. A shelf that blocks access may create a bigger problem than the clutter it solved.
A Simple Laundry Shelf Checklist
Use this checklist before you install a shelf, buy containers, or reset the laundry area after a busy week.
- Can I reach the active supplies without moving another item? If not, reduce the active shelf to fewer products.
- Are heavy liquids stored low? Keep dense bottles and refill containers where they are easy to lift and control.
- Is every shelf doing one main job? A shelf can hold wash supplies, backups, or tools, but mixing all three usually gets messy.
- Can I see duplicates? If not, switch from deep bins to shallow trays or shorter rows.
- Are vents, valves, outlets, and doors clear? Do not let storage make appliance access harder.
- Does the setup reset after one laundry day? If items do not return naturally, the system is too complicated.
When to Get Extra Help
Get extra help if you want to mount shelves into a wall, anchor a tall unit, store heavy products overhead, or work near electrical outlets, water lines, or appliance vents. A tight laundry room can make simple storage feel urgent, but guessing about installation, weight, or clearance is not worth it.
Renters should also check lease rules before drilling, attaching adhesive products, or changing built-in fixtures. If the product instructions are unclear, choose a lighter removable option or ask the manufacturer, landlord, or a qualified professional before loading the shelf.
Frequently Asked Questions
What should I check first before adding laundry shelves?
Measure the space and check appliance clearance, door swing, vents, outlets, hoses, and shutoff valves. Then decide which supplies truly need to be in the laundry area.
How often should I review a tight laundry shelf?
Do a quick reset after laundry day and a deeper review once a month. That cadence usually catches empty bottles, duplicate products, and supplies that drifted in from other rooms.
What should I do if I am not sure a shelf is safe?
Do not guess. Check the product instructions, surface limits, lease rules, and furniture stability guidance before loading it. When in doubt, keep the setup lighter and lower.
Can I undo this setup later?
Yes, if you start with shelf zones, trays, removable bins, and a small active-supplies shelf. Fixed shelves or adhesive products may need more care, so review removal instructions first.
Final Thoughts
Laundry room shelf ideas for tight spaces should make laundry feel easier, not more staged. Start with one active shelf, keep backups out of prime reach, store heavy liquids low, and leave enough clearance for the appliances to be used and maintained.
The smallest useful step is to remove everything from the current shelf and choose one job for it. Once that shelf works through a normal laundry day, you can decide whether the room needs another shelf, a rolling cart, or simply fewer things in the laundry zone.